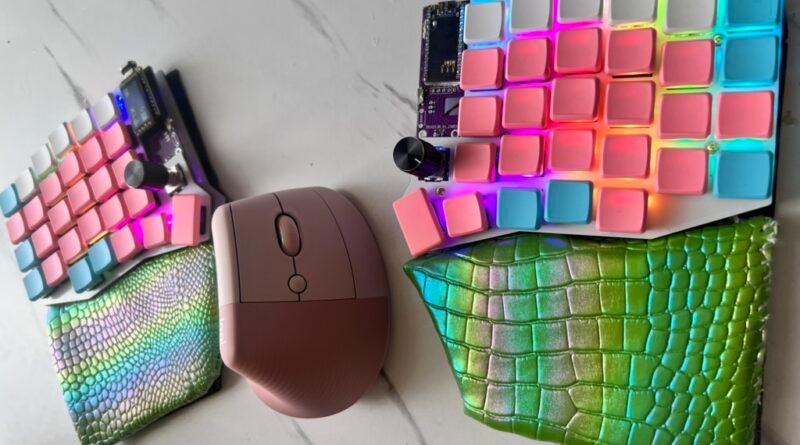
DIY Split Keyboards: Your Next Maker Rabbit Hole
As someone who had never soldered before (to the point where I didn’t realize the L was silent), I didn’t
Read more
A Los Angeles hackerspace
As someone who had never soldered before (to the point where I didn’t realize the L was silent), I didn’t
Read more
I’ve been recently experimenting with combining dye sublimation techniques with machine embroidery in the hopes of taking my own patch-making
Read more
I took on a rather intricate project for a laser-cutting beginner and made a lot of mistakes so you don’t have to!
Read more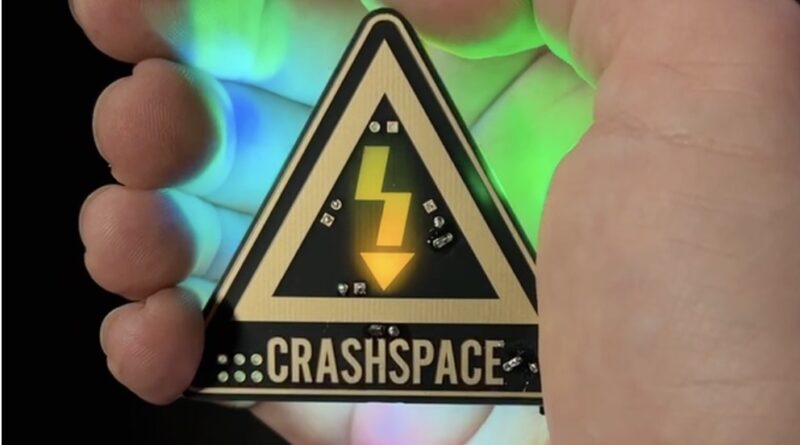
Learn how to solder up one of the new CRASHSPACE Badges!
Read more
Functional purse with SNES controller that can play a multitude of ROMs with a Vox face screensaver. Runs on Retropie
Read more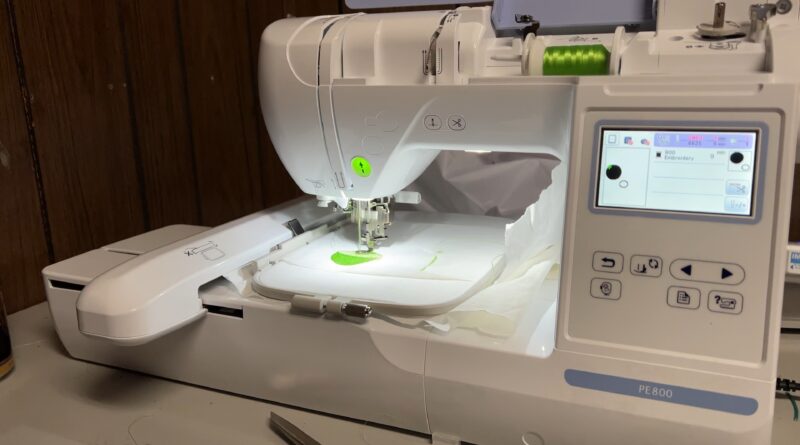
Did you know CRASH Space has an embroidery machine? Specifically, we have a Brother PE800 which lets you embroider built-in
Read moreTL;DR – Start on http://mastodon.online if you want to start today. It’s a general server that’s run by the non-profit
Read more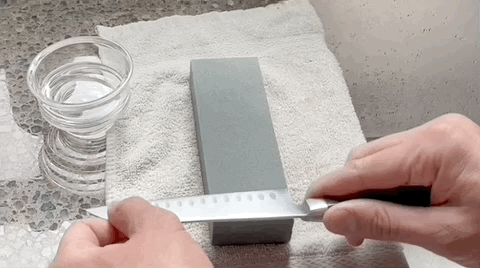
Especially in cooking prep, a sharp knife is safer than a dull one. If you’re cutting something hard like a
Read more
Last week I wrote a command line script to print out what day of the week it is. This week
Read more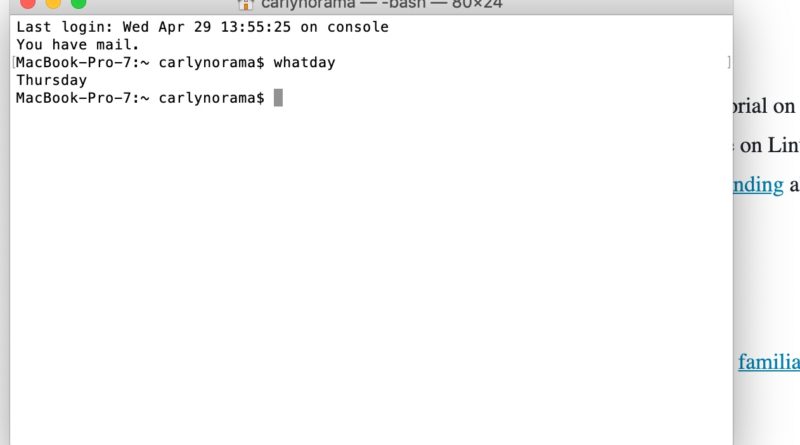
So you don’t know what day it is? Here is a quick tutorial on how to set up a small
Read more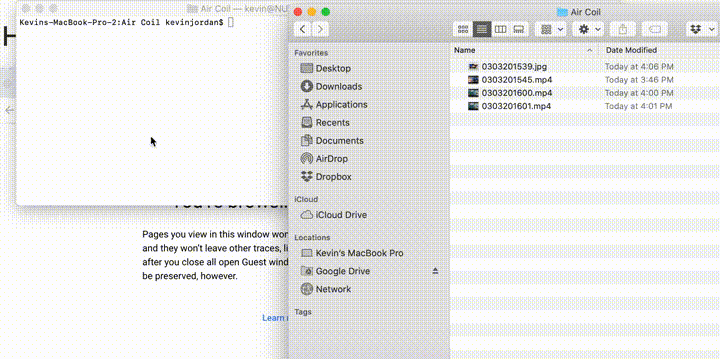
First, open terminal install FFMPEG brew install ffmpeg Done! Now cd over to the directory your videos are and run
Read more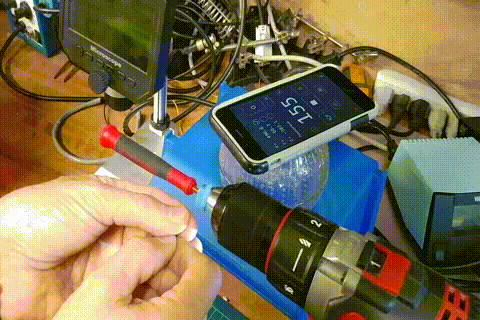
Made an Air Coil winder with Mark Rosen. Put a magnet on the drill to count rotations using an iPhone
Read more