
How to use the embroidery machine
Did you know CRASH Space has an embroidery machine? Specifically, we have a Brother PE800 which lets you embroider built-in designs and lettering and also lets you upload designs via USB. You can make patches, monogram your clothes, and make cool custom embroidered designs for cosplay or everyday wear.
Choose a design
The machine has over 100 built-in designs – mostly floral and scrollwork patterns, plus lettering. If it’s your first time embroidering something, try using one of the built-in designs as practice.
Make a custom design
I’ve been using Inkscape and Inkstitch to create custom designs. The Brother PE800 accepts .PES and .PEC files – so while you can draw your design in whatever SVG program you like, you’ll need to convert it to an embroidery file type. I like Inkstitch because it’s free, open source, and cross-platform.
Wind the bobbin
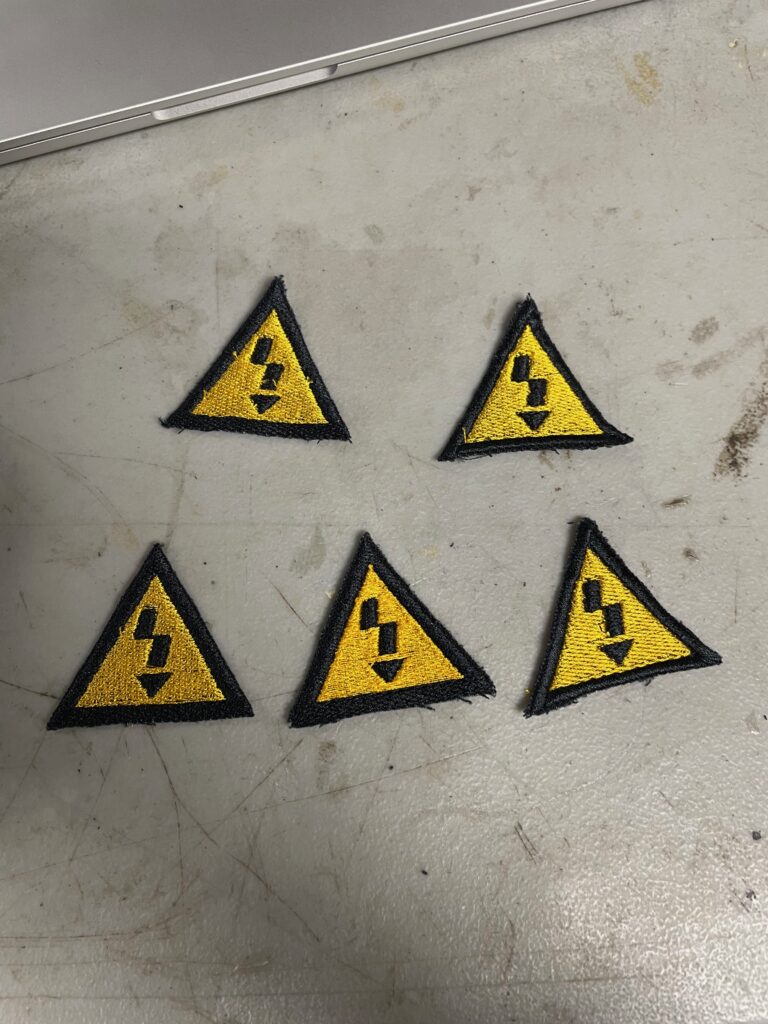
In this example, I’m making CRASH Space logo patches. It uses two colors, so I need to prepare two bobbins for embroidering. Check the supplies to see if your color already has a bobbin, but if not, load an empty bobbin on the bobbin winder and follow the indicators to thread the top thread to the bobbin. (When I was writing these instructions I didn’t need to load a bobbin, so here’s a good tutorial on how to do that).
Thread the machine
Follow the indicator guides when threading the machine. You’ll need to load the top thread and the bobbin.
Thread the top thread
Load the bobbin
Load the hoop
For best results, use a non-stretch material. If using thin fabric, use stabilizer. In this example I’m using non-stretchy black denim. Pull the edges of the fabric while tightening the hoop to make the surface as taut as possible, like a drum. Load the hoop onto the embroidery plate.
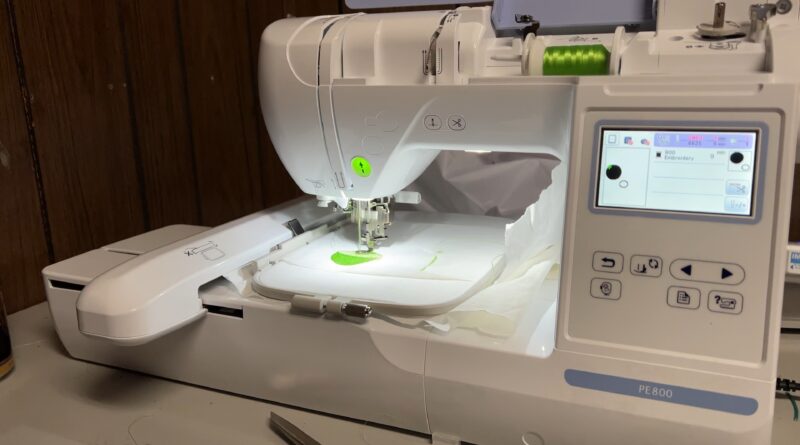
Adjust size and placement
(It was at this point that I had realized I had loaded yellow thread but black was my first color, so I swapped those out off camera.)
If using a custom design, insert your USB thumb drive into the machine, then press the USB symbol. When you’re ready, press Embroidery then press the green start button (if it’s red, lower the presser foot).
Swap out thread colors
If embroidering something with more than one color, you’ll need to swap out the thread when the first color is done.
- Raise the presser foot
- Remove the hoop from the plate
- Remove the top thread, replace it with the next color, then thread the machine
- Replace the bobbin with the next color thread
- Load the hoop, lower the presser foot, then press the green start button to continue with the embroidery design
That’s it!
Since these are patches, I just cut them out of the fabric (being careful not to cut the embroidered edges) and now they’re ready to be sewn onto hats, jackets, etc.
Whoa, this is a fantastic resource!! Thank you Liz for putting it together and advertising (or reminding us, haha) that this machine exists in the space!
Also, I feel like an old—I’m glad I happened to just load up this website (which I don’t often), and see this blog post! Is there a way to subscribe to the blog and get emails? Was this post sent on the list-serve and I missed it?
Help? Slash, suggestion to post blog posts on the list-serve if it wasn’t put on there? Again, this is rad!