

Practical Sharpening
Especially in cooking prep, a sharp knife is safer than a dull one. If you’re cutting something hard like a carrot, a sharp knife will go through with little effort, whereas a dull knife will require a lot of force that can get a finger once the knife finally gets through.
I mentioned in my show-and-tell of kitchen knives I restored that I’m very wary of sharpening services that use bench grinders. It’s easy for them to remove too much material, it’s easy to ruin the heat treatment, and it makes a hollow grind that I just don’t like.
I’ll overanalyze more later. On to the sharpening. This assumes a plain (non-serrated) edge with a V-grind—the most common.
Equipment:
A double-sided course/fine whetstone. I found this 400/1000 grit stone for under $20, and have a similar one.

How to test sharpness and see which grit to start with:
NEVER TOUCH THE EDGE WITH A FINGERPAD!!!

“Aaah. Still sharp…”
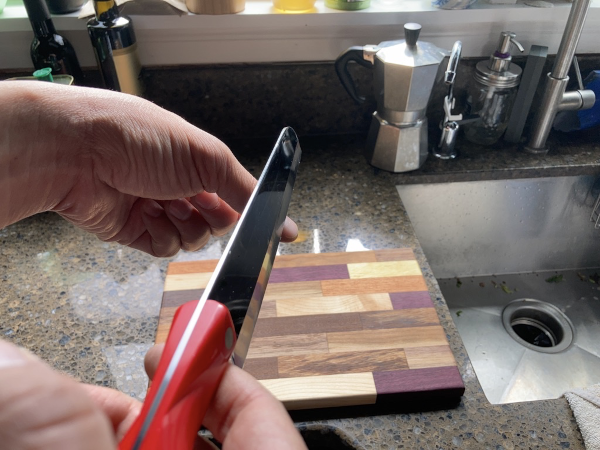
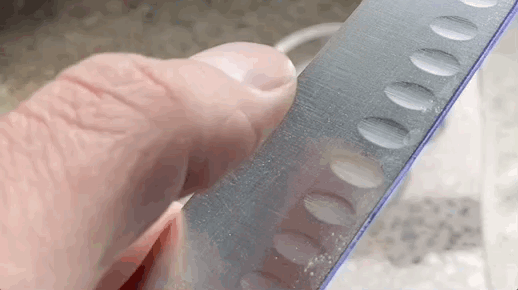
There are a few practical testing methods, and the one I prefer is to put the edge lightly on my thumbnail and see at what angle it catches:
Very dull: It only catches at 90~80 degrees or not at all. Start with the course (darker) side.
Slightly dull: Catches down to ~65 degrees. Start with the fine (lighter) side.
Sharp: Catches under ~40 degrees
Sharp
Setup:
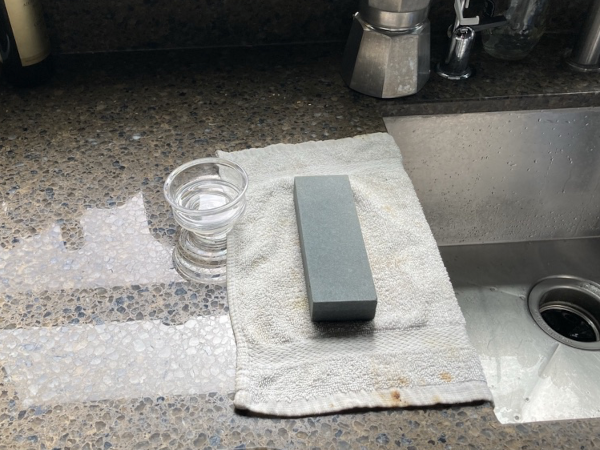
Soak the whetstone in water for 10-20 minutes.
Put a wet dishrag or paper towel on your counter, and put the whetstone on it. This will keep it from sliding around.
Have a small bowl of water with a drop of dishwashing soap in it nearby.
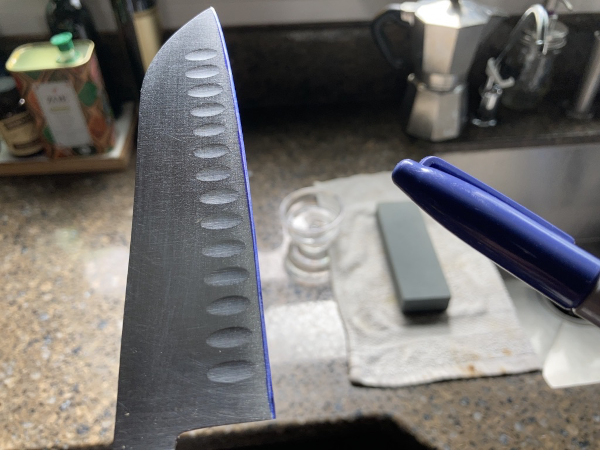
Training ink:
While you’re still getting the feel of maintaining the correct angle, use a permanent marker and mark the edge of the blade.
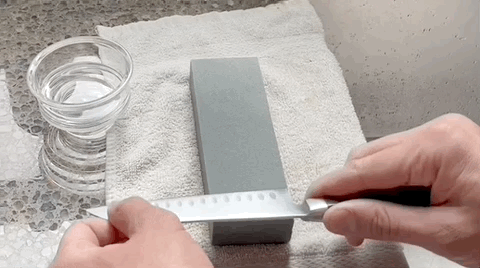
Putting knife to stone:
There are different strokes, but while starting out, focus on keeping the angle consistent. Start near the handle, get the angle to where the edge is flat against the stone, and gently move the knife back and forth. Don’t push down into the stone, just let the edge glide on top.
If you marked the edge:
After the first few passes, check the ink. It should be coming off the edge evenly. If not, adjust your angle. Disregard any ink on the flats of the knife.
Needs a slightly finer angle
When you start scraping into loose particles:
Wipe or rinse off the stone and use a bit of the soap water on the surface.
When to turn over:
For very dull knives, do about 10 strokes on each side, alternating.
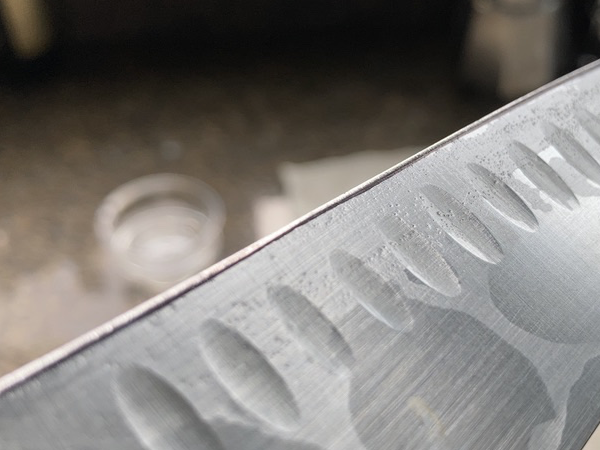
Otherwise, there is a wire edge that will form on the non-stone-side:
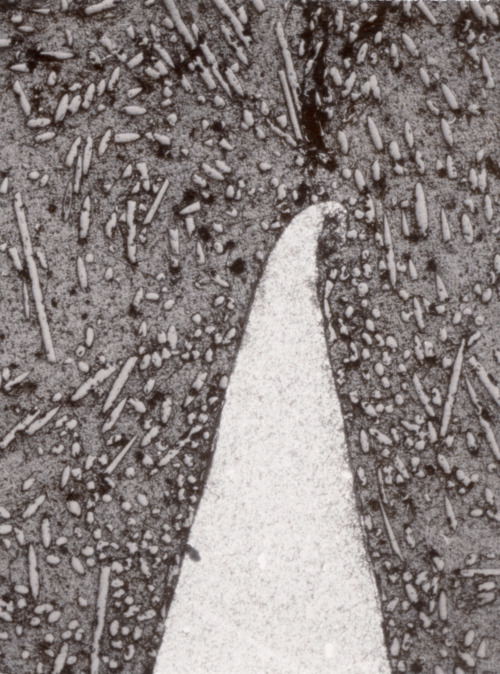
Under a microscope. Source: chefdaddyanddaughter.com
You can feel this with your fingerpad, going from spine-to-edge.
When you feel this, flip to the other side and repeat. If you started with the course side, flip and repeat with the fine side.
Finishing off:
Let’s get that wire edge off. Whichever side it’s on, make a very light pass (just let gravity do its job) on a honing steel, or the back of another knife. If it’s still there, repeat. If the wire edge folded to the other side, repeat on that side until you can’t feel it.

Optional: I like putting compound bevels on all my knives. With the fine grit side, I make a few light slicing passes at a slightly sharper angle on both sides. There shouldn’t be a wire edge from this, but if there is, repeat the above step.
Extra credit:
Sharper on a budget:
If you chop a lot of delicate things like herbs, you may want it sharper than a 1000 grit stone can produce. You can use the unglazed bottom of a bowl or mug as a very fine grit stone, with lengthwise strokes. This also makes for good edge maintenance or knocking the wire edge off.
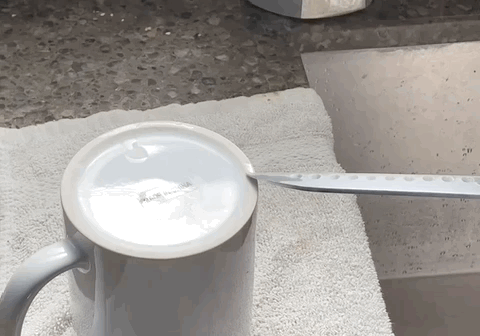
If you use that bowl or mug in the microwave, be sure to clean the bottom off very well after doing this.
Sharpness tests for very sharp:
Once you get into the very sharp territory, the edge will catch a thumbnail up to the degree of the bevel. Here are further practical tests:
Very sharp: Will cut a piece of paper held rigid in one hand, with a slicing cut.
Very very sharp: Will cut a piece of paper held loosely, with a slicing cut.
Why you never touch the edge- sharp: = will cut a piece of paper held loosely, with a push cut. You can also shave with this.
Very sharp
Jigs:
There are jigs on Thingiverse to help with all this.
Angle jig for whetstone:
https://www.thingiverse.com/thing:4715618
https://www.thingiverse.com/thing:4626160
Angle jig for standard mug:
https://www.thingiverse.com/thing:30246
https://www.thingiverse.com/thing:28530
I use an Edge Pro when restoring an old or damaged kitchen knife (DIY replicas: https://www.thingiverse.com/thing:1662869 , https://www.thingiverse.com/thing:4135236).
“This is all too much…“
Project Farm did a test on different sharpening systems, and he was able to get good results with low priced jigs. I’m of the opinion that being able to control the angle is important, but for ease of use, these warrant serious consideration. It’s far better than using a dull knife.
— Shaun’s in the kitchen
Very cool!
Thank you I have been trying with a sharpening utensil to poor results and I have a whetting stone so, sweet!