
LED Flipbookit: full color and brightness control with an Arduino
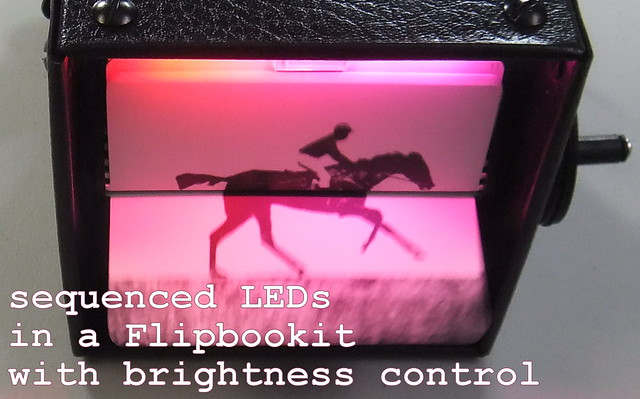
This fun upgrade to the already amazing Flipbookit made for a simple project.
The full tutorial can be found on Instructables

With a few simple materials from crashspace
– addressable RGB LED strip : I used a new variety of three conductor WS2811 strips.
– an Arduino : I used a Arduino Leonardo. Any 5vdc Arduino should be adequate.
– 4 AA batteries and a battery holder are a nice touch to make it more portable.
– prototyping board or prototyping Arduino Shield
– potentiometer for brightness control
– maybe some connectors for the power and motor could come in handie
– headers to secure hardware to Arduino
– misc wire for LED strip and potentiometer
– 3M Double Sided Foam Tape for sticking Arduino and LEDs in place
– Flipbookit MOTO-FLIP from flipbookit.net : <– this thing is super easy to build
A little bit of care

And some Arduino code from our github
https://github.com/CRASHSpace/LEDs