
New Facilities Additions: 2x Bambu Lab P1s + 1x AMS 2 Pro
Overview
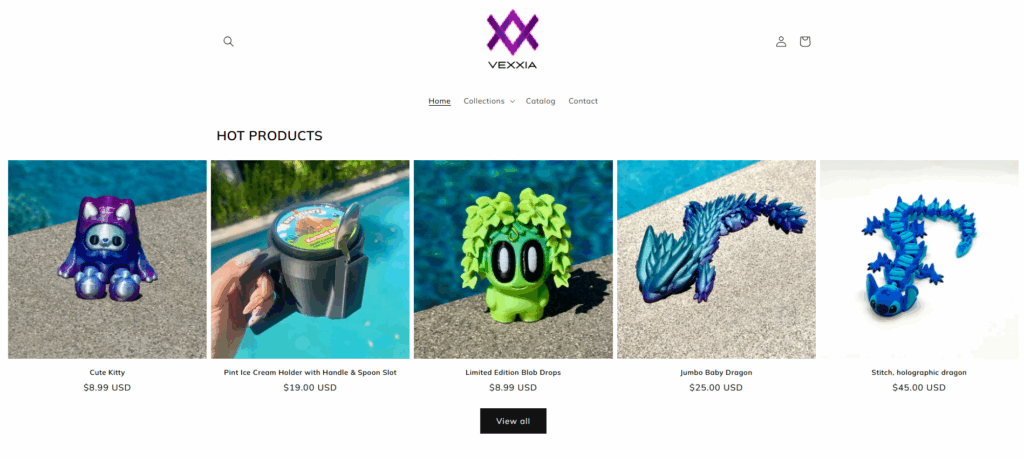
Great news everyone! As of this week we have now acquired two new printers! Initially found through a Facebook Marketplace submission, we have purchased 2 Bambu Lab P1s printers with under 2000 print hours from fellow maker Vexxia Designs who was down-scaling her print operation. Additionally, to help augment our hacker space’s print capabilities, and provide an alternative to using the Prusa XL for multi material printing, we have also gotten a AMS 2 Pro multi material system!
Usage Guide
Slicing Guide
Coming soon
Connecting To LAN
NOTE: Both P1’s are connected to the LAN network and offline from Bambu’s servers. While this does prevent printing from Bambu Handy (phone app) or when not at the space, this limitation is intentional for our operational security. As such please do not disable LAN mode as it resets the access codes for everyone else and thus is a hassle. If you are having trouble connecting, please ask someone before poking around in the settings.
- Connect your computer to the same local network as the printer.
- Start Orca Slicer (ensure you’re using a version that supports LAN mode, like v2.2.0 or newer).
- Go to the Devices tab (usually top left)
- Click the ‘+’ or ‘Add Printer’ option.
- Orca should automatically scan the network; if it finds your printer, select it. If not, you may need to enter the IP address manually.
- Enter the access code displayed on your P1S screen when prompted. This binds Orca Slicer directly over LAN
- Glados (Left)(Non AMS): WIP
- Wheatley(Right)(Has AMS): WIP
- On success, your printer will show as connected. You can now send jobs or control eitherP1S from Orca Slicer, fully offline.
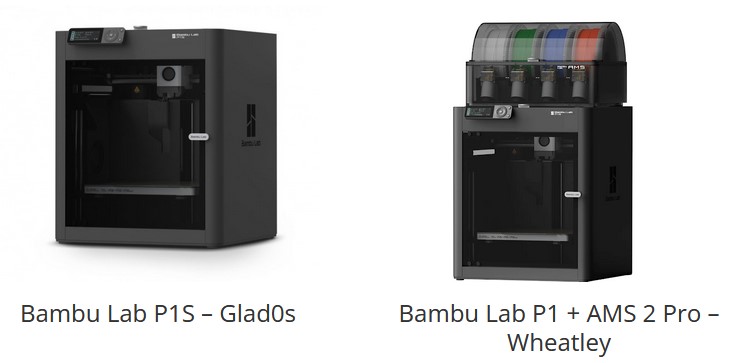
The New Kids on the Block
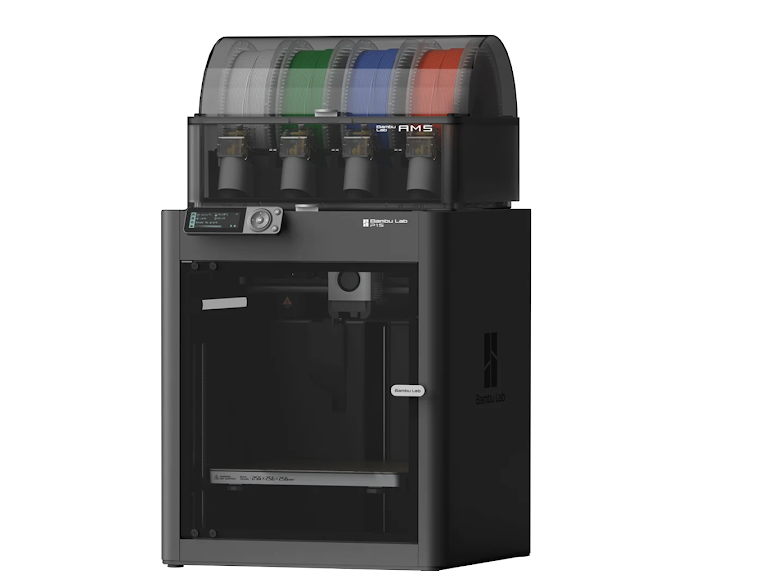
Bambu Lab P1 + AMS 2 Pro – Wheatley
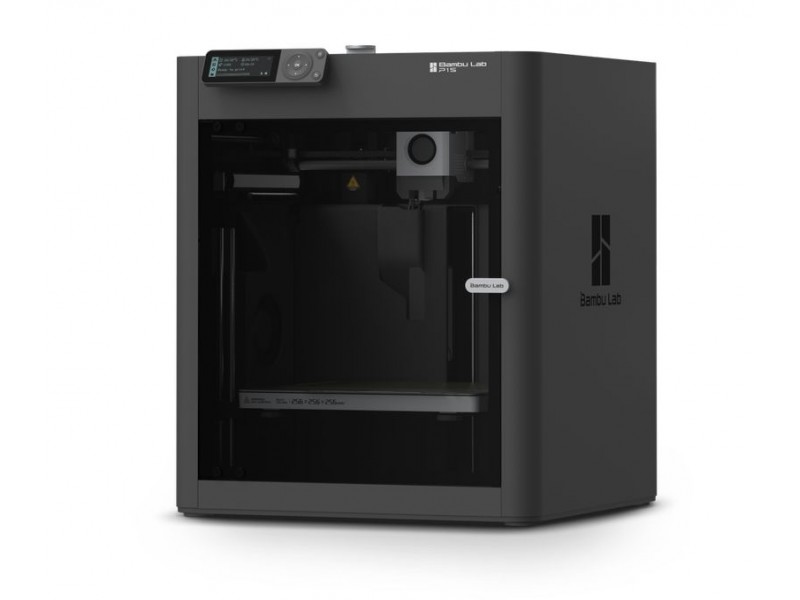
Bambu Lab P1S – Glad0s
- Specific Model: 2x Bambu Lab P1S + 1x AMS 2 Pro.
- Note: Wheatley has a multi material unit (AMS 2 Pro) that allows for 4 different colors per print, that is to it’s right
- Software:
- Slicer: Bambu Slicer, Orca Slicer
- 3D Model Software: Any (Ex: Blender, Fusion 3D, Tinker CAD, SketchUp)
- Hardware:
- Core XY
- 0.4 mm hardened steel nozzle
- This allows more abrasive or tougher filament printing such as ABS, Carbon Fiber, Nylon, etc,
- Max object size: 256x256x256 mm (10.07 × 10.07 × 10.07 inches)
Timeline
1. Picking Up From Vexxia
To start, I drove to their warehouse to see what the available options were. Most were already reserved, but there were a few still available of which I was offered 2 of the remaining ones with the lowest print hours. As we started some basic prints to show the printers worked we starting conversation about their operation and reason for downsizing.

Fortunately for us both, the business has been thriving and the seller was simply trying to expand to a more scalable setup using A1’s for their shop, thus selling the P1S’ to get more A1s. This made me particularly happy as it meant the printers were in great and maintained condition and that the seller was not liquidating out of necessity or closure!
As bonus perk that came out of this conversation amongst two makers, I got a complimentary upgrade to the hardened steel hotends (Thanks again!) after chatting about the fun of making!
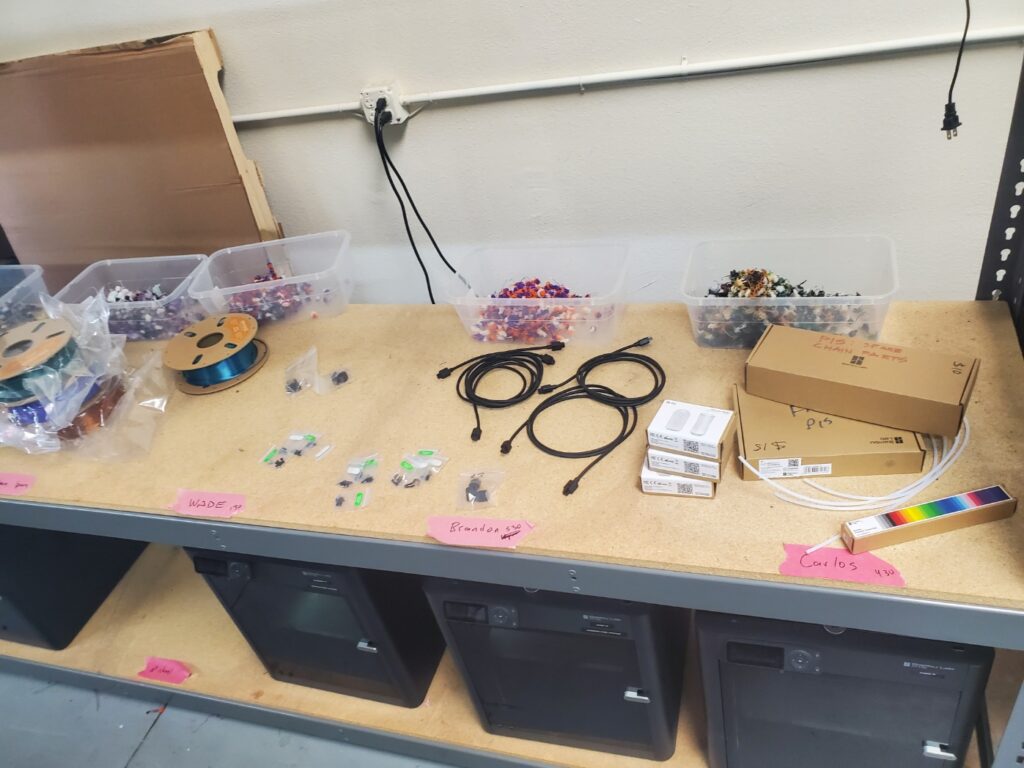
Next, I picked out some extra filament, spare repair parts, and some extra hotends, and loaded it into my car, snagging a solid discount due to my bulk order
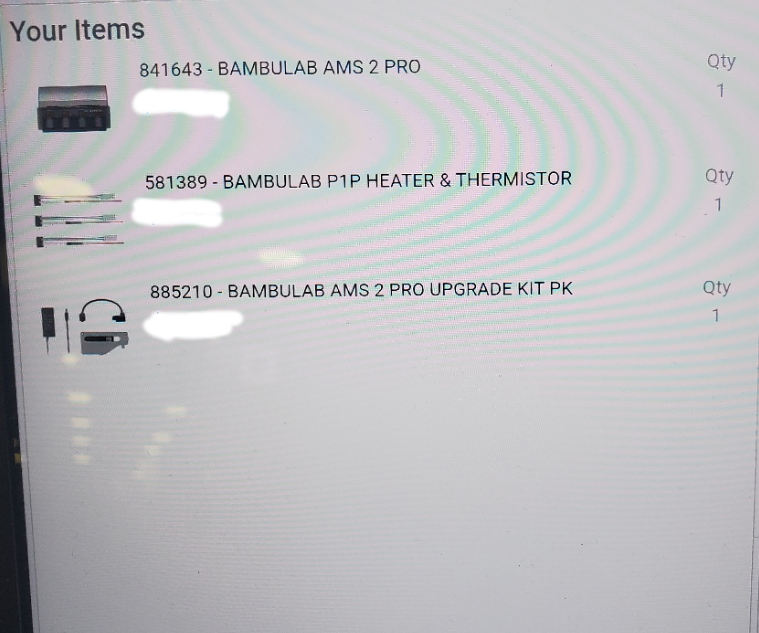
As I checked my phone to let Crashspace know of the new acquisition, I got some more good news, buying an AMS 2 Pro was approved! Happy to add another multi material printer, I quickly hopped over to the nearest MicroCenter and scooped one up!
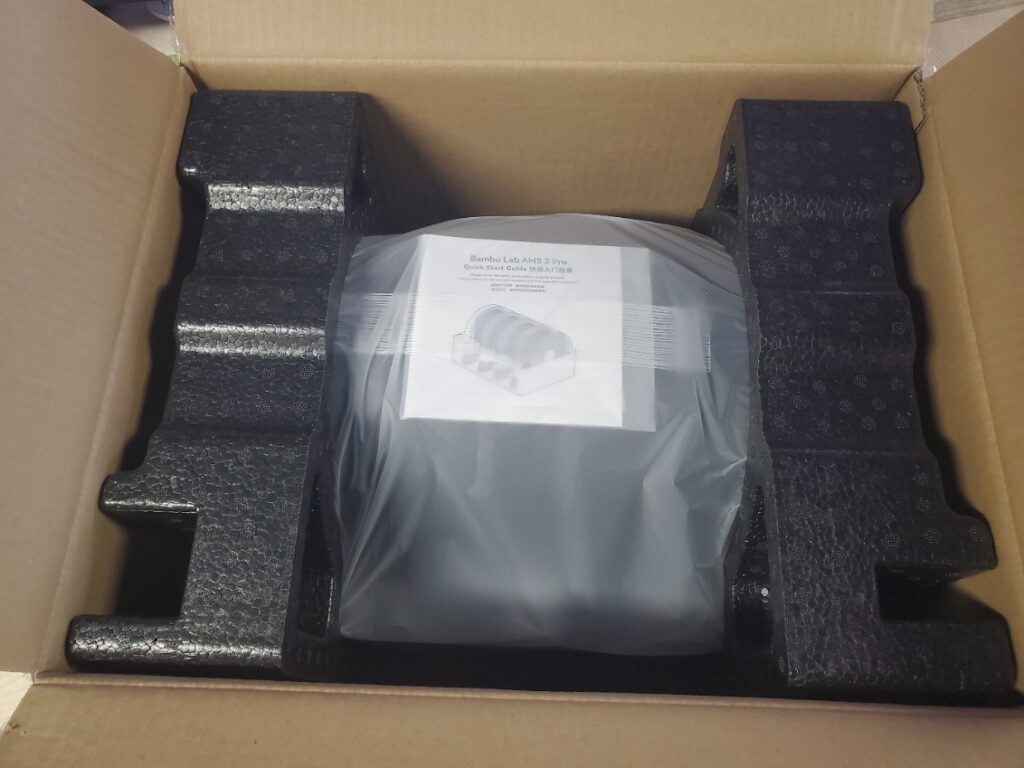
Now it was time to bring all the loot home!
2. Preparing our Hackerspace For The New Arrivals
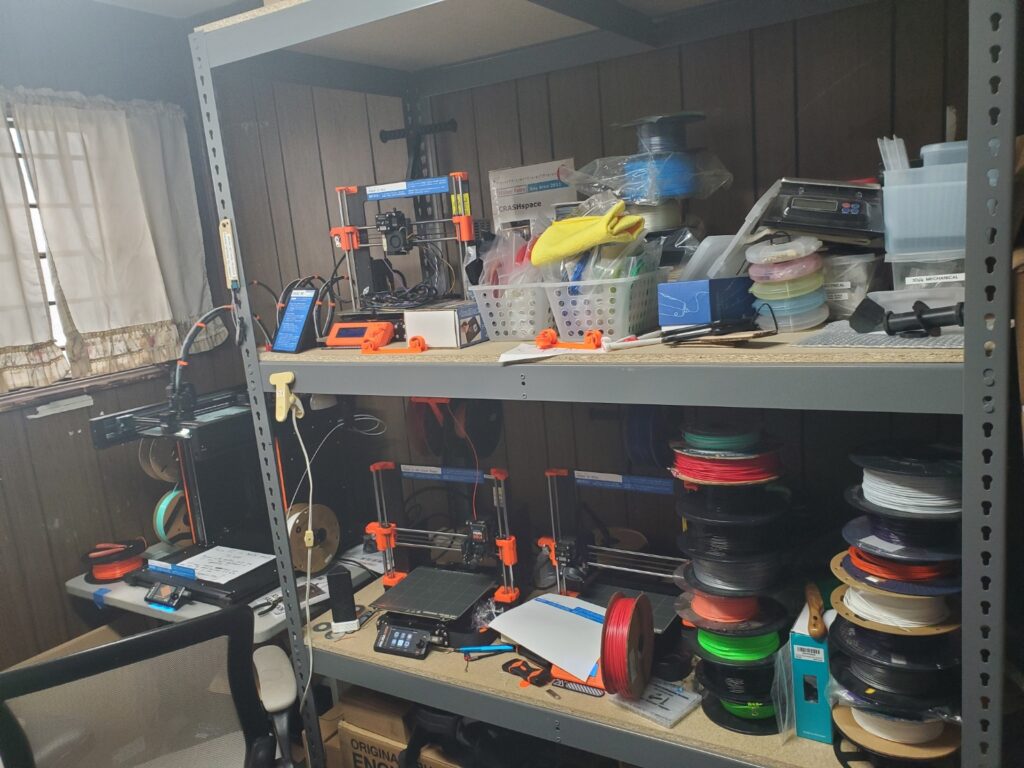
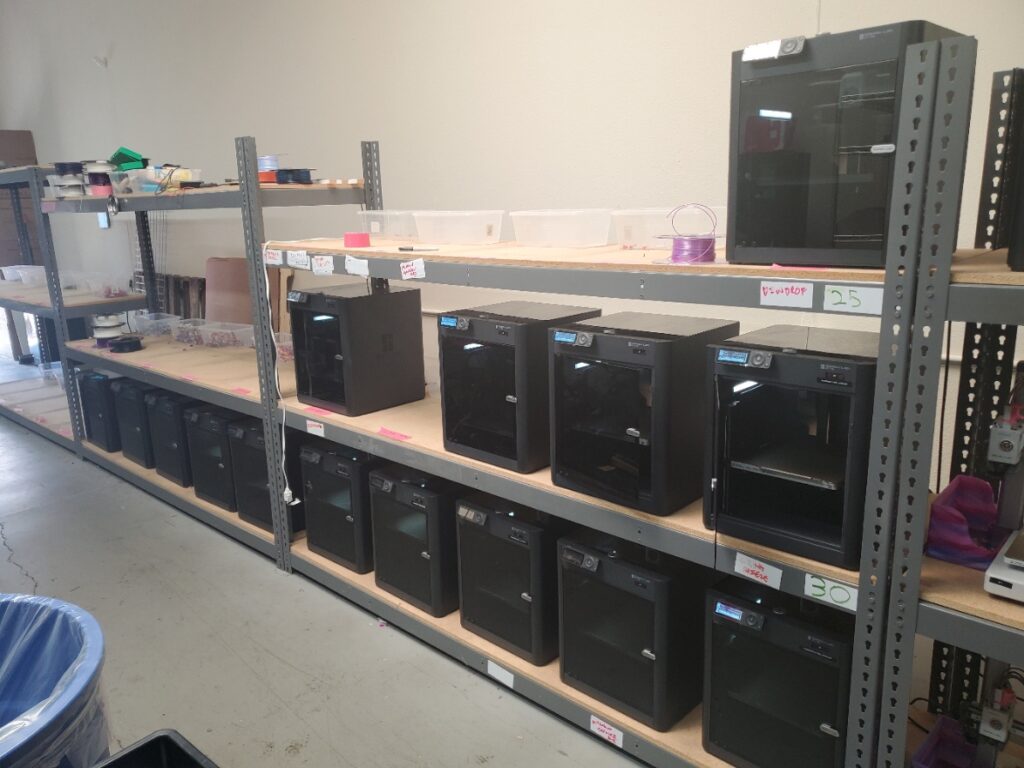
After arriving at the hackerspace, I immediately went to work to make space for the new additions. Pictured to the left is the transition phase of the 3d printer shelves as we were figuring out storage solutions using our newly built shelves.

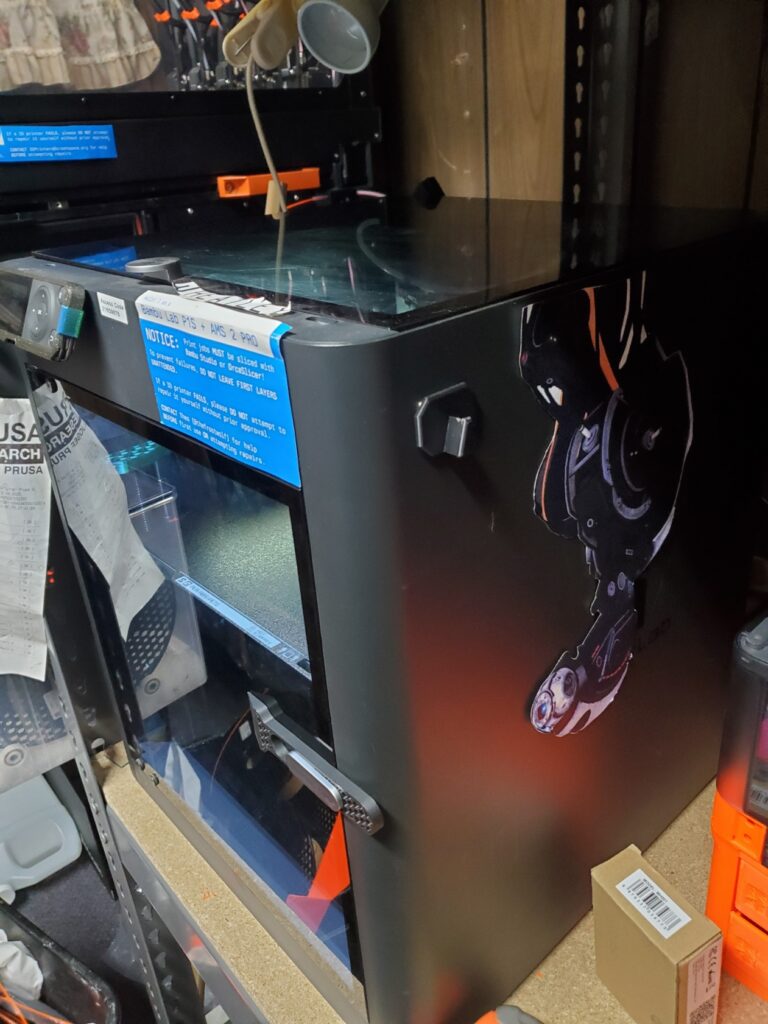
3. Setting up the Printers and AMS
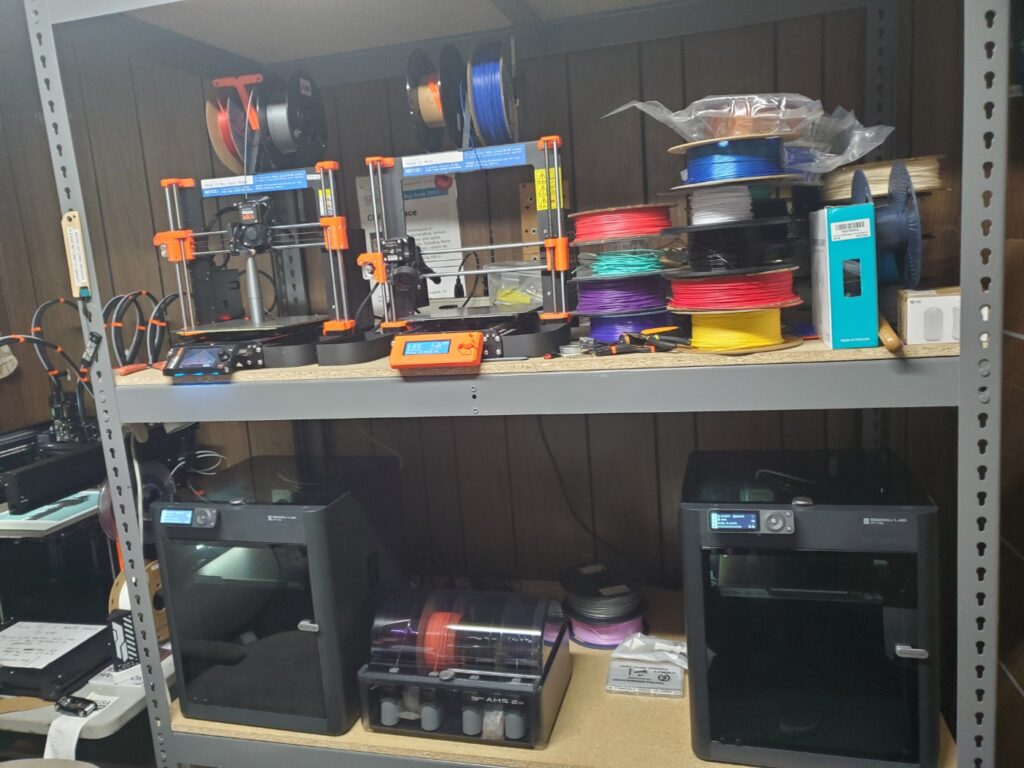
After doing some significant cleanup and rearranging the Prusas (and putting one aside to be upgraded), the initial setup was done. I arranged the printers this way so that the displays of the Prusas were at the bottom, and the displays of the Bambu Labs were at the top, keeping the interfaces around the same area.
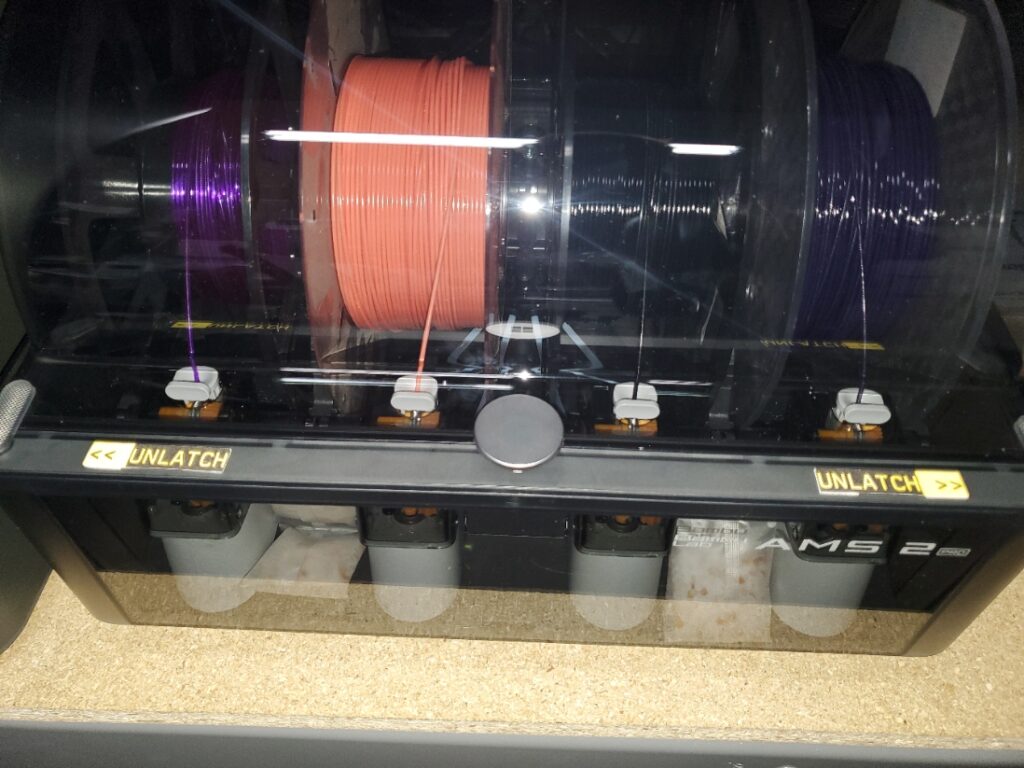
AMS 2 Pro with proper labeling and filaments inserted and ready to go, making good use of some of our emptier PETG spools.
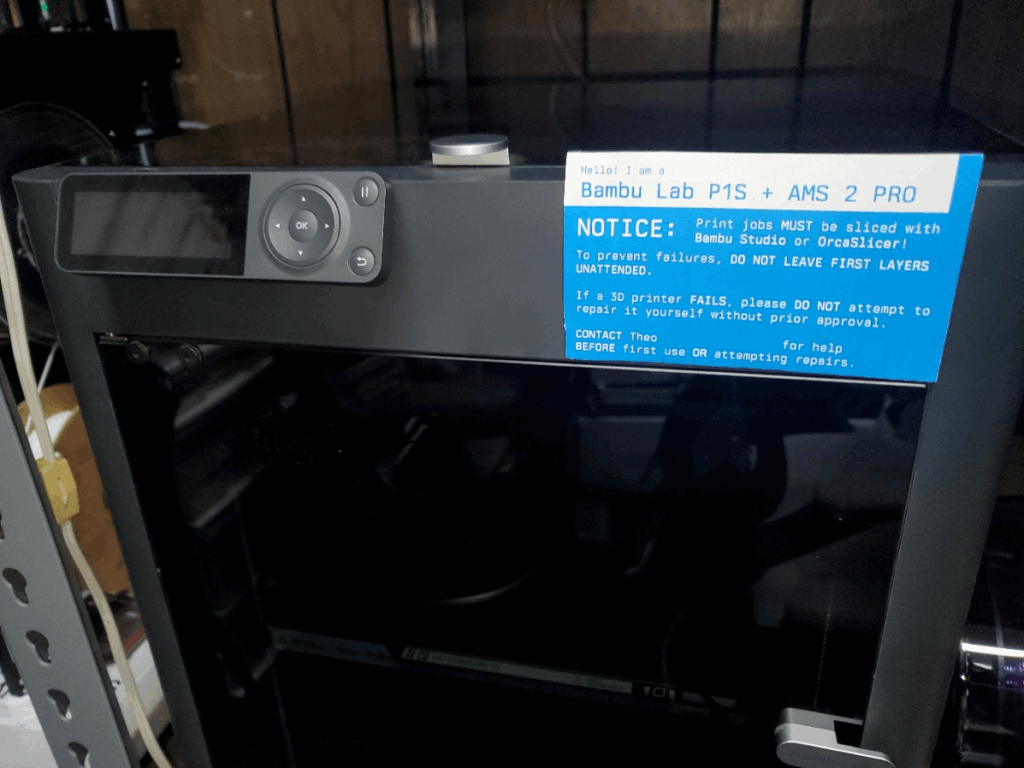
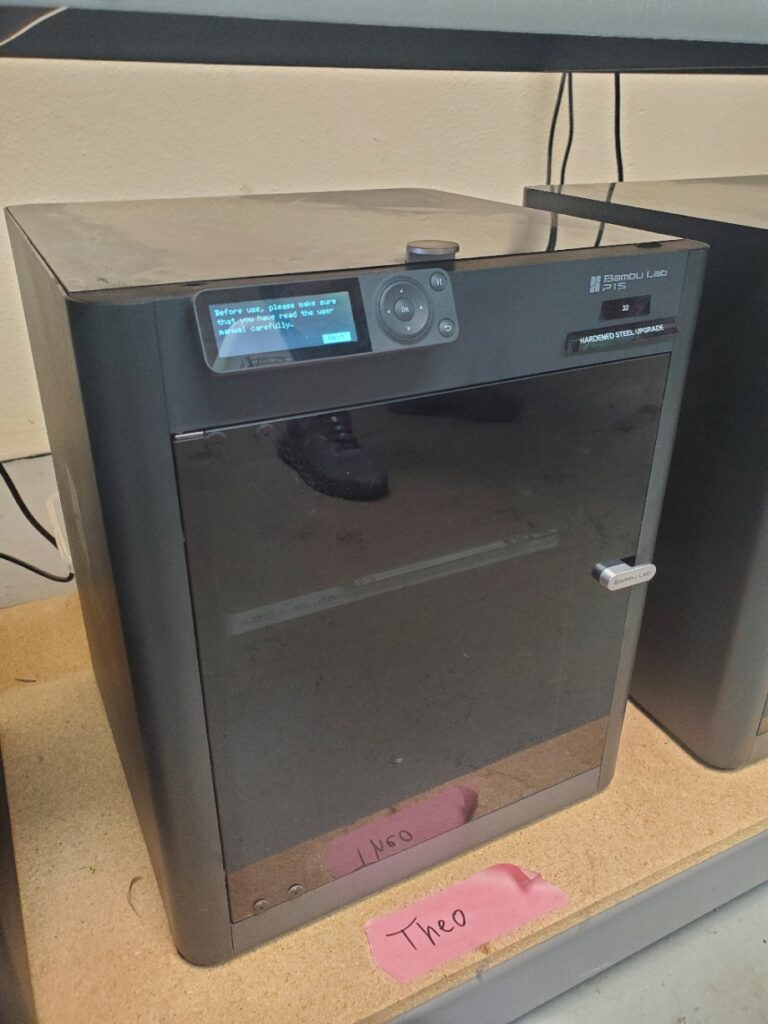
Label made by Lavie instructing basic info about the printer following our unified design paradigm
4. Conclusion
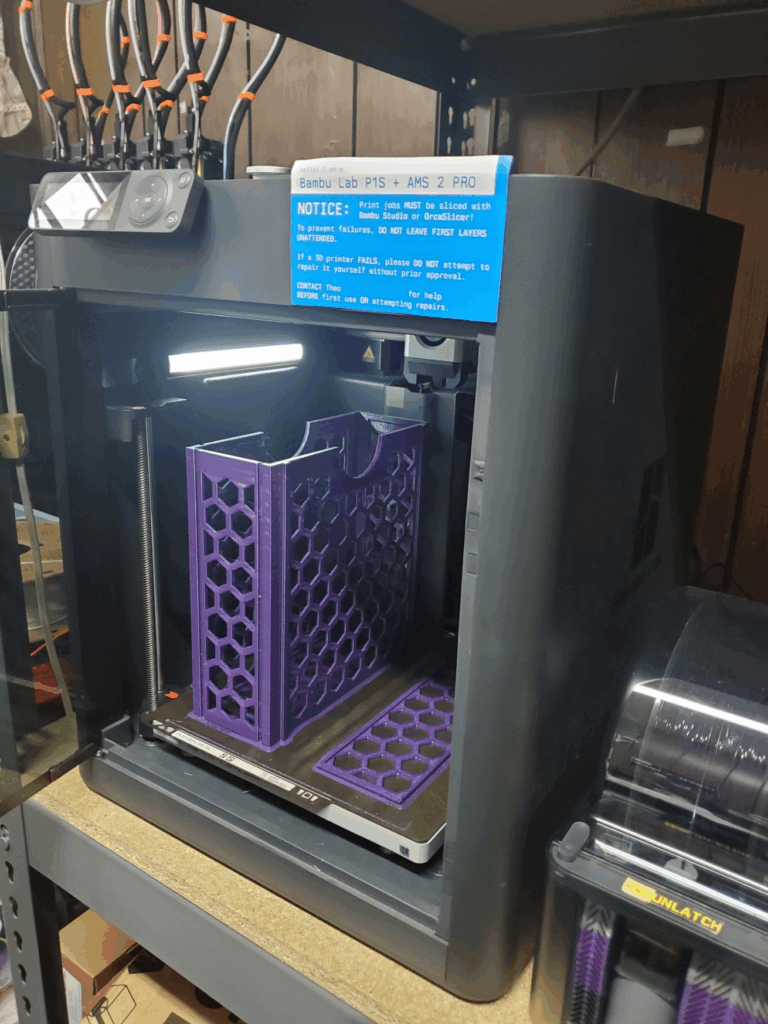
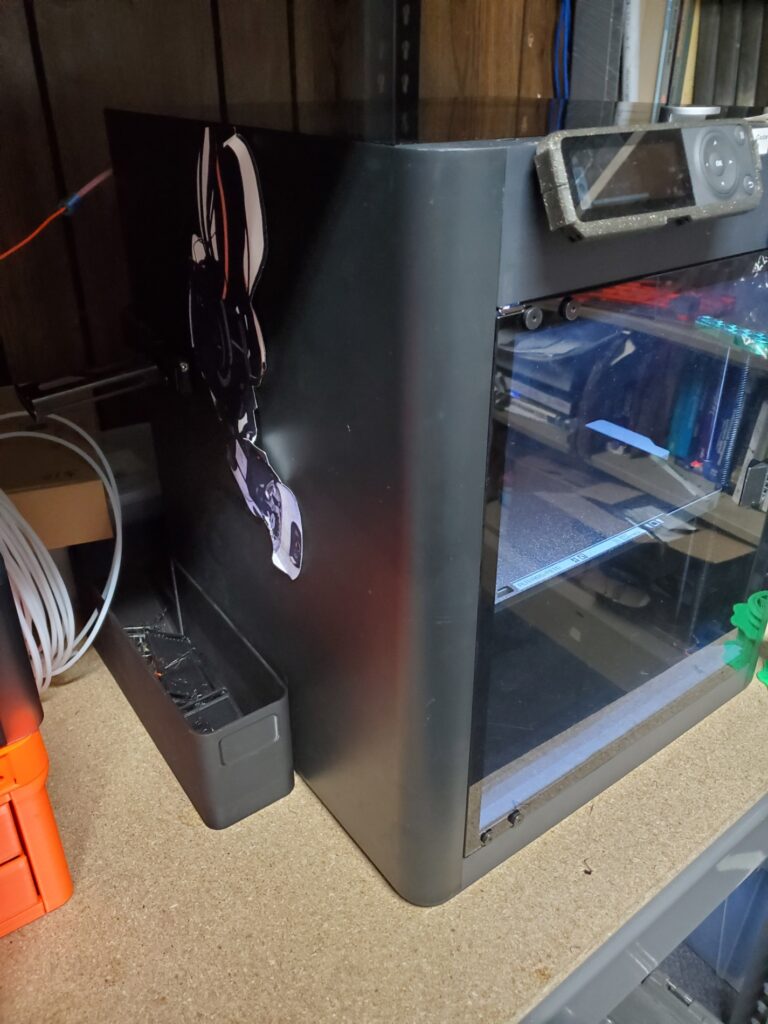
First successful print, a vertical filament storage box, made in just over 5 hours using our new printer!
Well that concludes this simple blog post showing the process of acquiring, clearing up space for, and fully setting up our new P1s printers. Happy printing