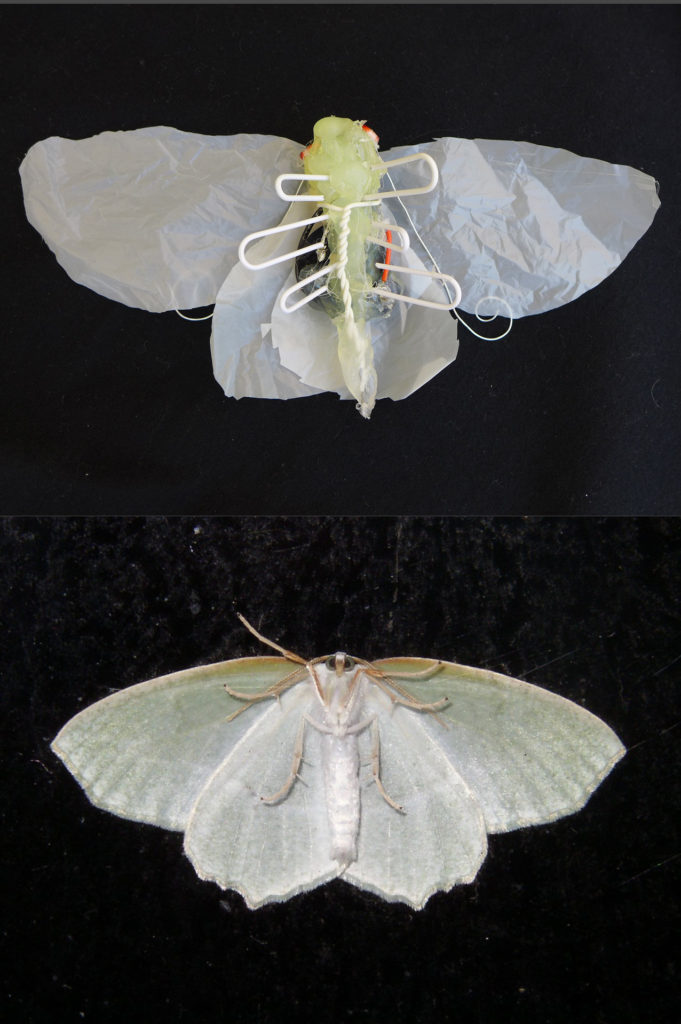
Found @ CRASH Space No. 4: Pager Motors as Insects
Pager motors are small motors with a lopsided weight on the end that were developed to shake pagers (link provided for those born in or after the ’90s). They now shake phones, electric razors, toothbrushes, etc. The particular pager motor for this project was another scrapped-off-the-floor find. Most likely it fell onto floor and hid under the couch during a Mega-Take-Apart excited to be free from a toothbrush. I made a moth with it.

The most common quick projects to make with pager motors are vibration robots. That is mostly what you’ll find when searching Instructables.com for pager motor. The most complete full scale project with etched circuit board and rechargeable batter was the PingBot. It is a great tutorial. Read it and learn. I also really enjoyed the Tomato Pollinator and Seed Spreader too since they were practical tools instead of just more clutter. The Instructables most useful to me for making the moth were the Solar Cockroach and the Vibroclip. If you want to make a tiny car or RC copter, David Cook of Robot Room has written an excellent tutorial on how to remove the the weight.
More pictures and videos of the moth project process are on Flickr.
What I learned
- Hot glue does not stick to parchment paper (and that is useful)
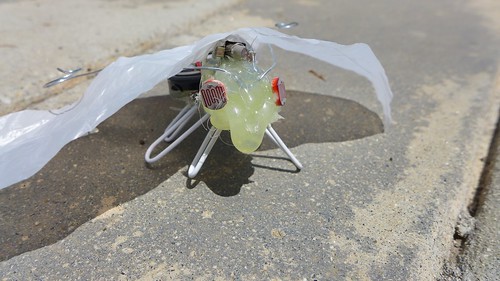
- Although the electronics seemed to work perfectly in the breadboard, there really isn’t enough current going through the “eyes” once it all metamorphoses into a moth. Direct sunlight was required, and even that resulted in fiddly behavior. The photocells are in parallel to reduce resistance, but 2 were not enough. The motor couldn’t always draw enough current to get the load going and it would stop when the battery got warm. More photocells (in parallel) would definitely be something to try.
- Don’t rush soldering. Really. Festina lente. Will I never learn? Bad soldering introduces electrical noise and I really had no margin for that. Also, soldering near hot glue can cause problems.
- A transistor or mosfet as an amplifier might mean I can still only use two photo resistors, but more other parts… hmmmmm… trade offs. (An example of a adjustable sensitivity photocell relay trigger)
- Put the eyes on the TOP of the moth’s head and make sure cells are in the same plane so they both get direct light.
Tools Used:
- Hot Glue Gun (Shop One, right hand side upper shelves or in the drawers on the bench below)
- Soldering Iron (Shop One, top of right bench)
- Wire Strippers (Shop One drawers on right bench)
- Pliers (Shop One drawers on right bench)
- Scissors (Shop One drawers on right bench)
Parts & Supplies Used:
- Hot Glue (BYO)
- Parchment Paper (my stash but any non-porous, non-heat reactive surface will do)
- Pager Motor (found on the floor, really)
- CR2032 Battery (Next time maybe 2, battery box in back left of Shop 1)
- CR2032 Battery Holder (found in battery box)
- 26 Gauge Solid Core Wire (wire is at the mid-point of the right benches in Shop 1)
- Stainless Steel Wire (for antennae, found in nut and bolt rack near back door in Shop 2)
- Plastic shopping bag (for wings)
- 3 white paper clips (for legs)
- LED Socket (any header will do, optional)
- 2 10K Ohm Photo Resistors (next time, try multiple per eye – there are some in the little drawer extravaganza in Shop 1)
- Breadboard for knocking out prototype (My stash. Never leave home without one. )

