
Bench Hook For Bookbinding
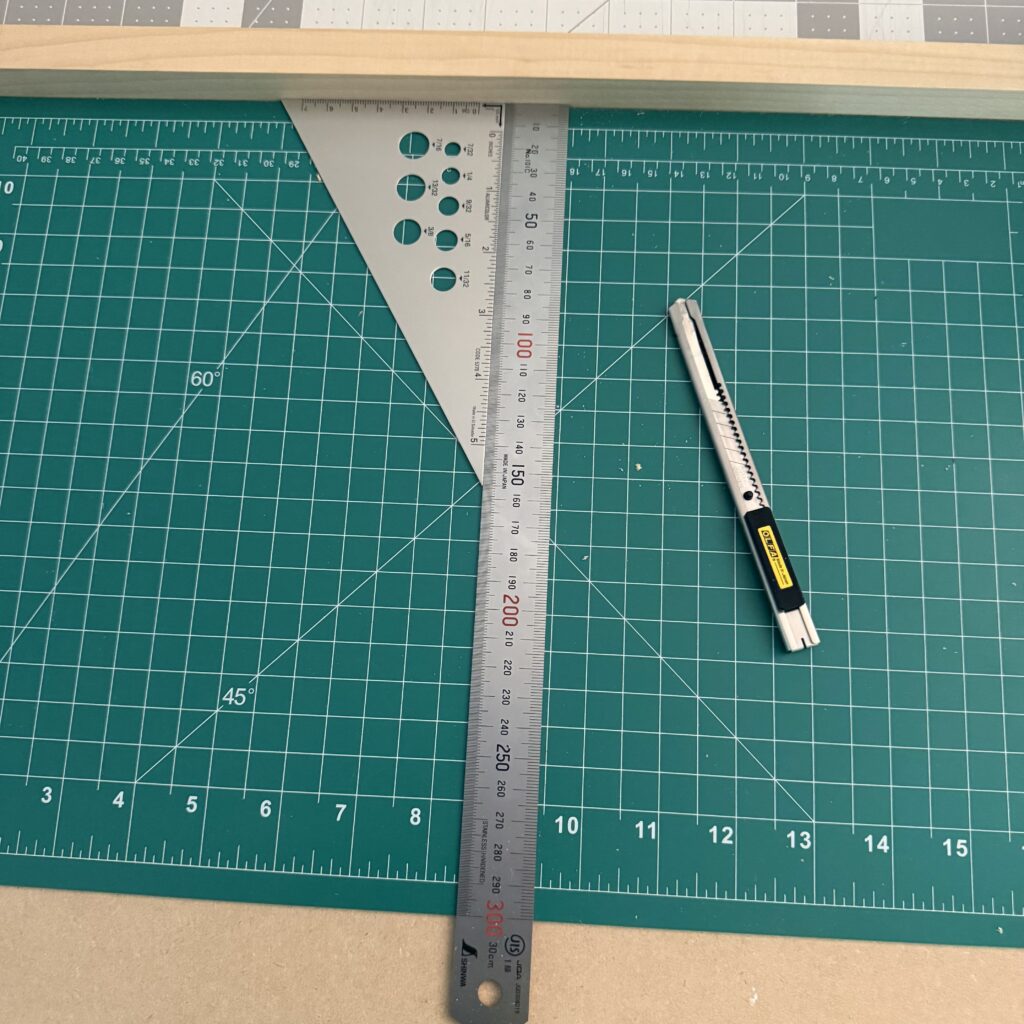
In bookbinding, you find yourself cutting lots of things – paper, board, cloth, leather – and it helps to be able to cut straight and square. If you ask a dozen bookbinders how they do it, you will probably get a dozen different answers. DAS Bookbinding has a method I like, using a bench hook that has a straightedge against which perpendicular cuts can be made.
I want to use this method for my planned bookbinding classes, so I made some. They’re easy to make!
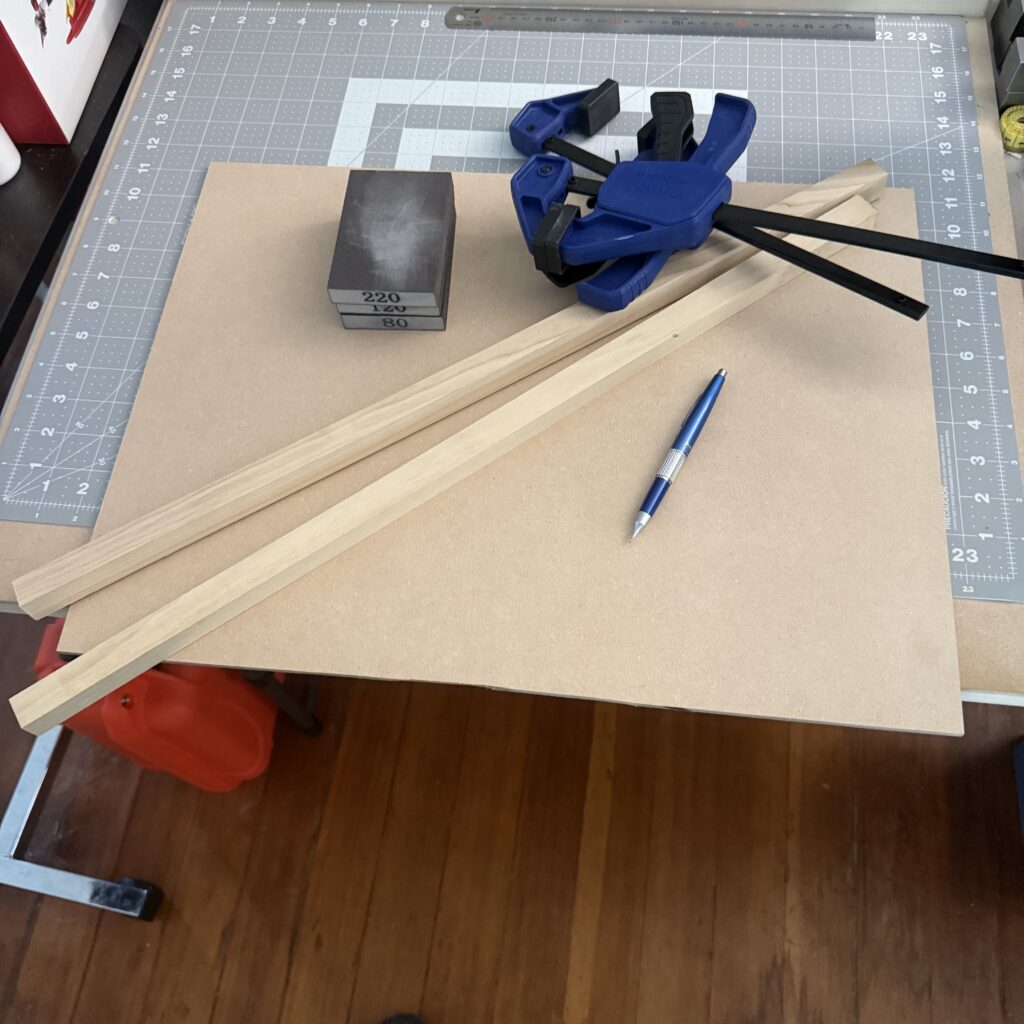
The parts needed:
1/4″ MDF cut to 15×20″ (380×510 mm) (Home Depot sells a 2×4′ sheet of 1/4″ MDF for about $16 – which can get you three of these boards)
2x lengths of 3/4″ square hardwood cut to 20″ (510 mm) each (make sure they’re as straight as possible) (Home Depot sells 2′ lengths for $2.50)
5x 3/4″ #6 flat head screws (6g x 19mm)
Tools:
clamps
drill
countersink drill bit
A pencil, saw, and sandpaper are useful too
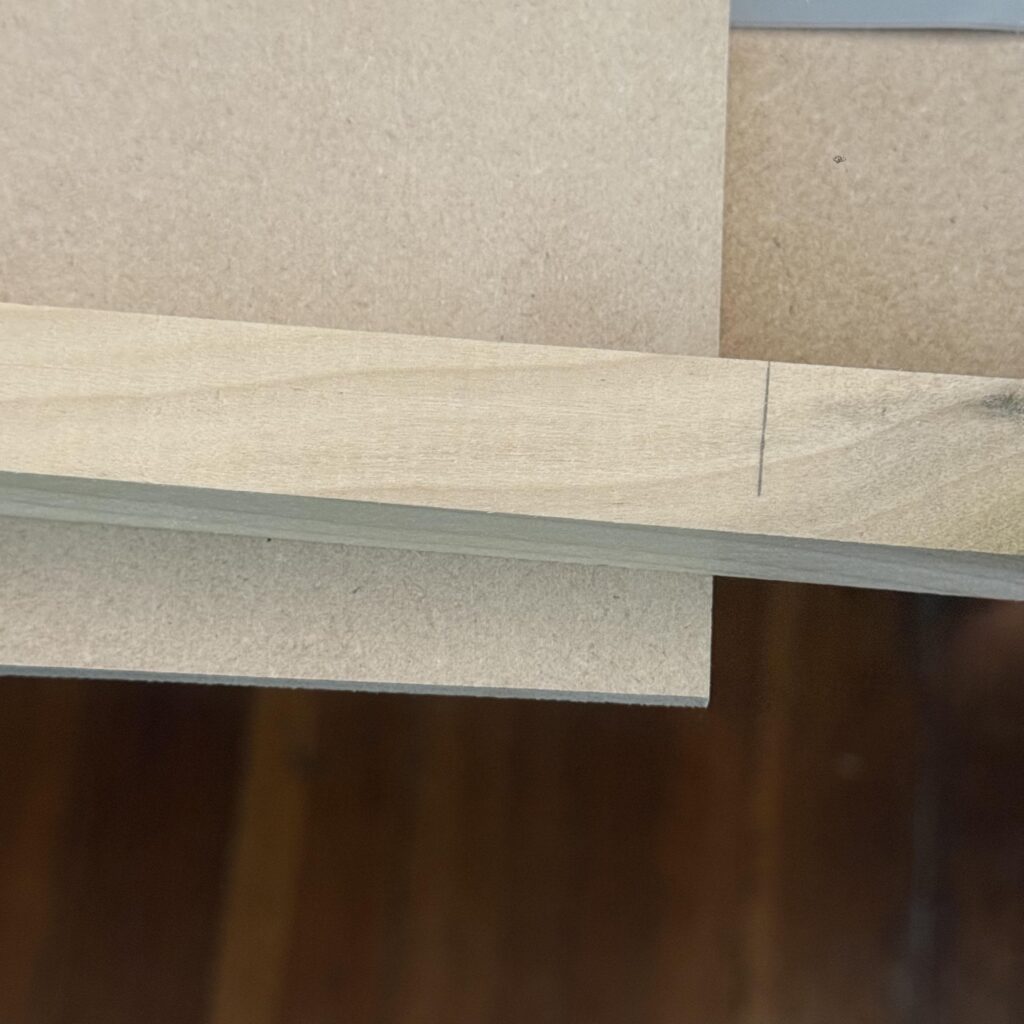
Home Depot was kind enough to cut the sheets of MDF into multiple boards of the right size. I bought longer lengths of 3/4″ square pine so I aligned them up against the long edge of the MDF and cut it to length. I used sandpaper to clean up the cuts and avoid giving myself splinters.
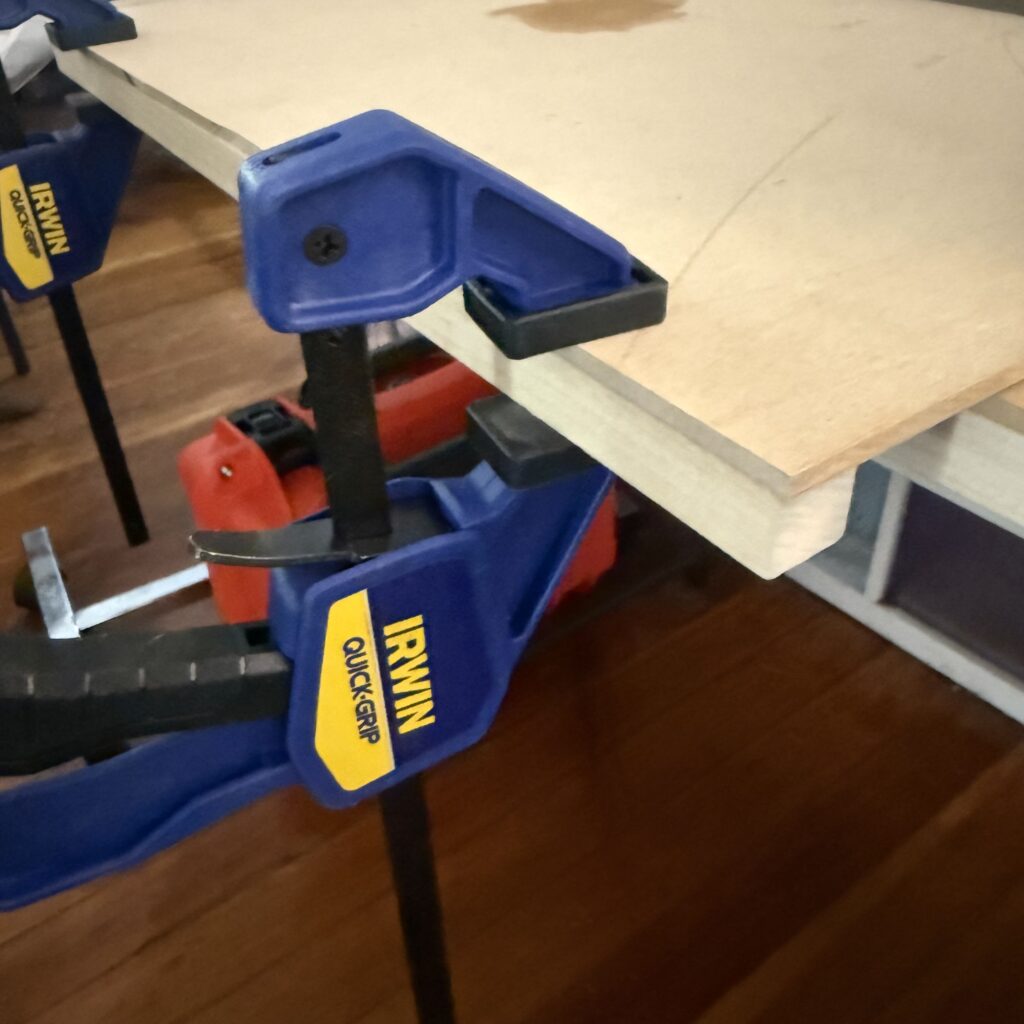
I lined the square piece to the front of the MDF and clamped in in place. (That big stain was sticker residue that I removed with adhesive remover.)
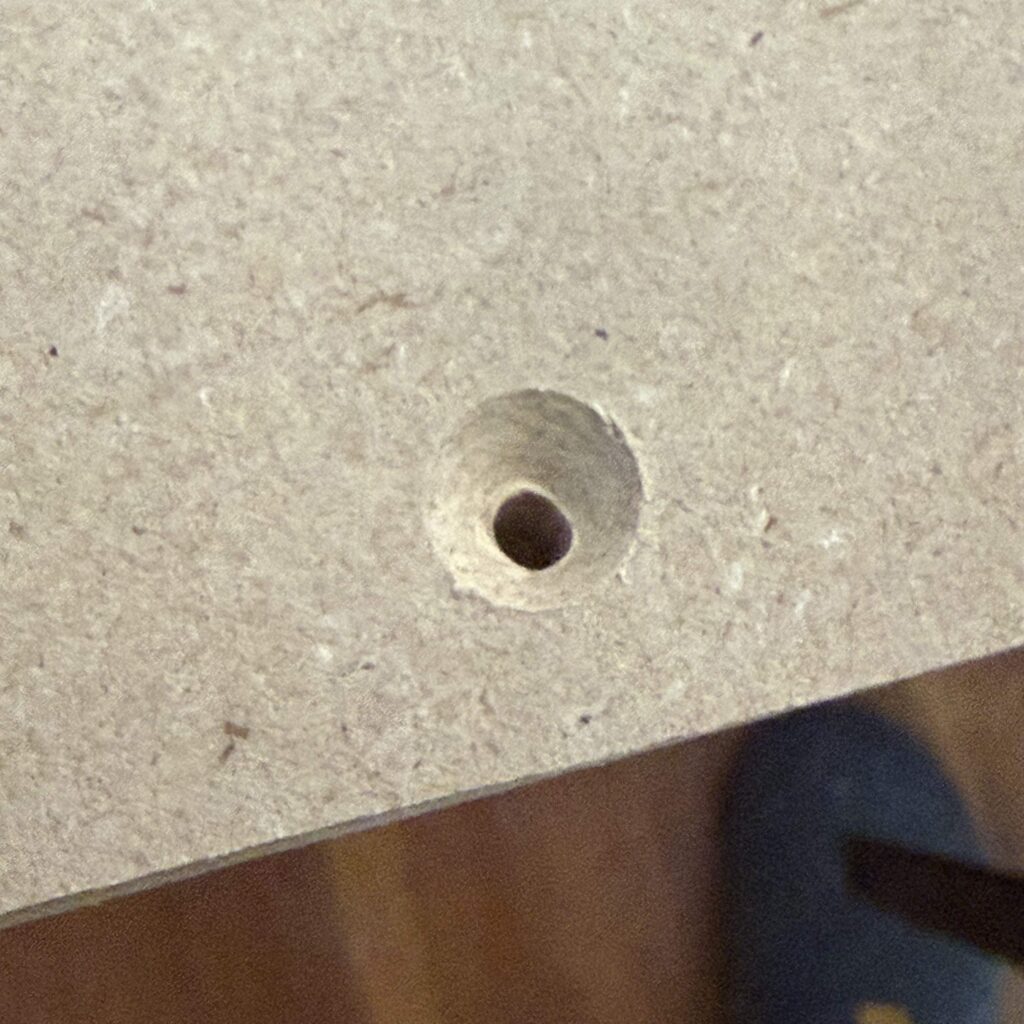
I drilled 5 countersunk holes roughly evenly along the edge through the MDF. and used screws to attach the strips. You want the screw heads to be flush or slightly below the board.
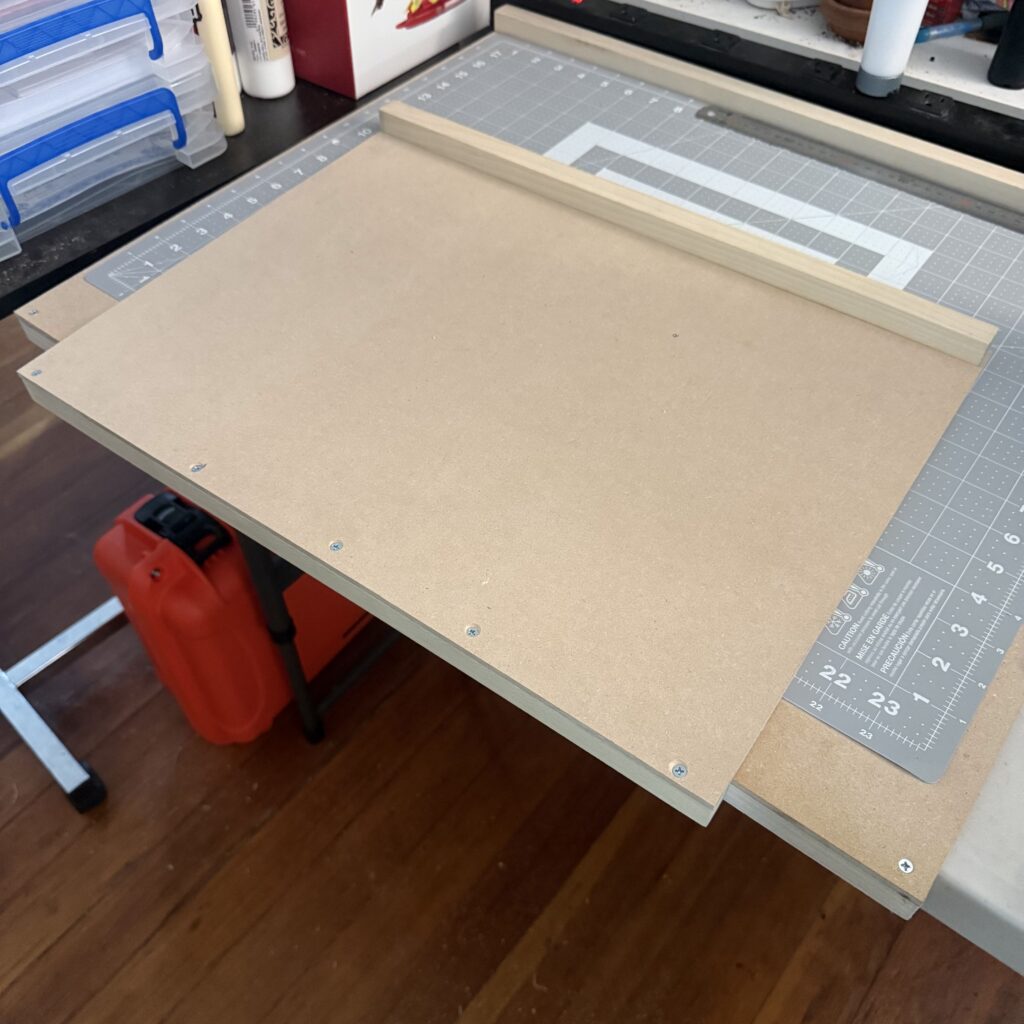
Repeat on the other side, so you have one strip on the top and one on the bottom. The strip on top of the board (at the back) holds the work piece against a straight edge. The front strip (on the bottom) holds on to the edge of the bench, preventing the board from moving.
I actually made two different sizes – the 15×20″ ones for the class and a larger one for my workbench because I don’t have a way of attaching the strip to the workbench itself.
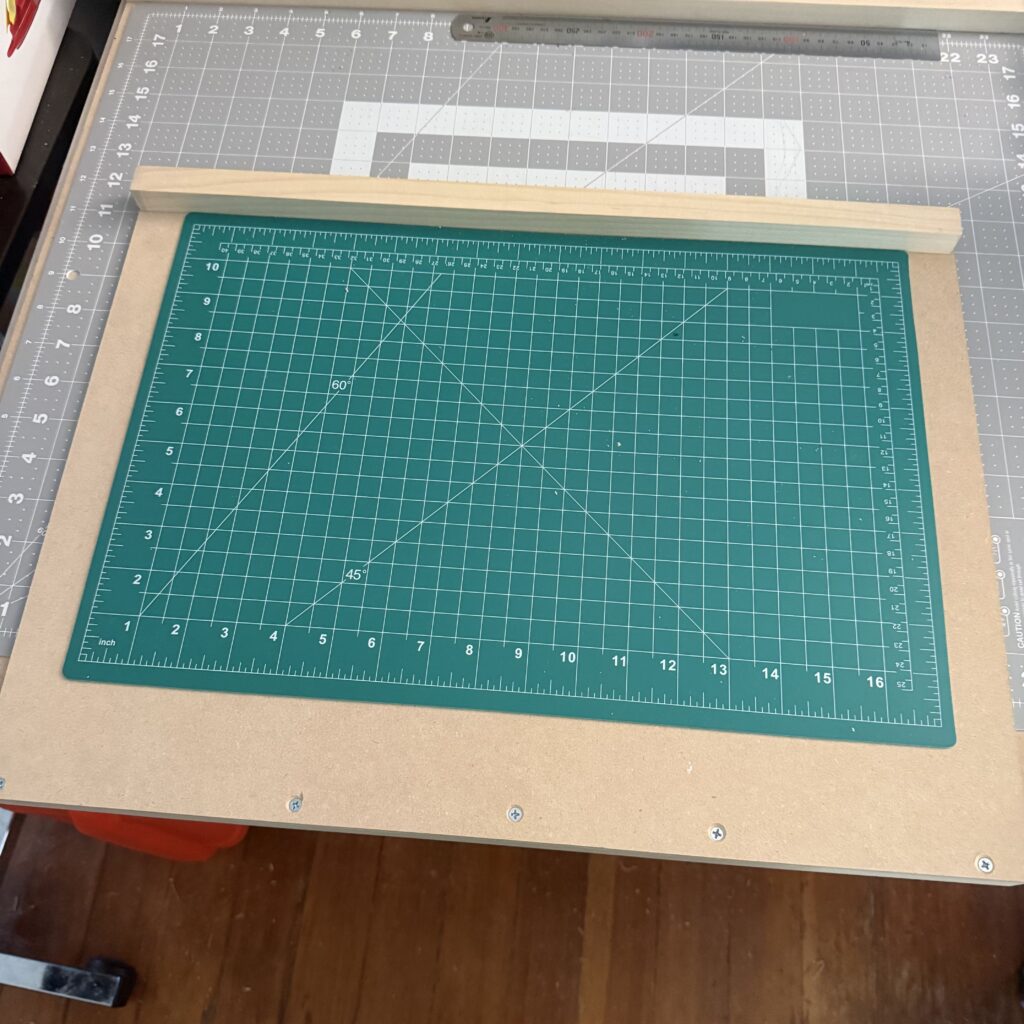
The board holds a 12×18″ cutting mat, which is big enough to work with a A3 or 11×17″ sheet of paper.
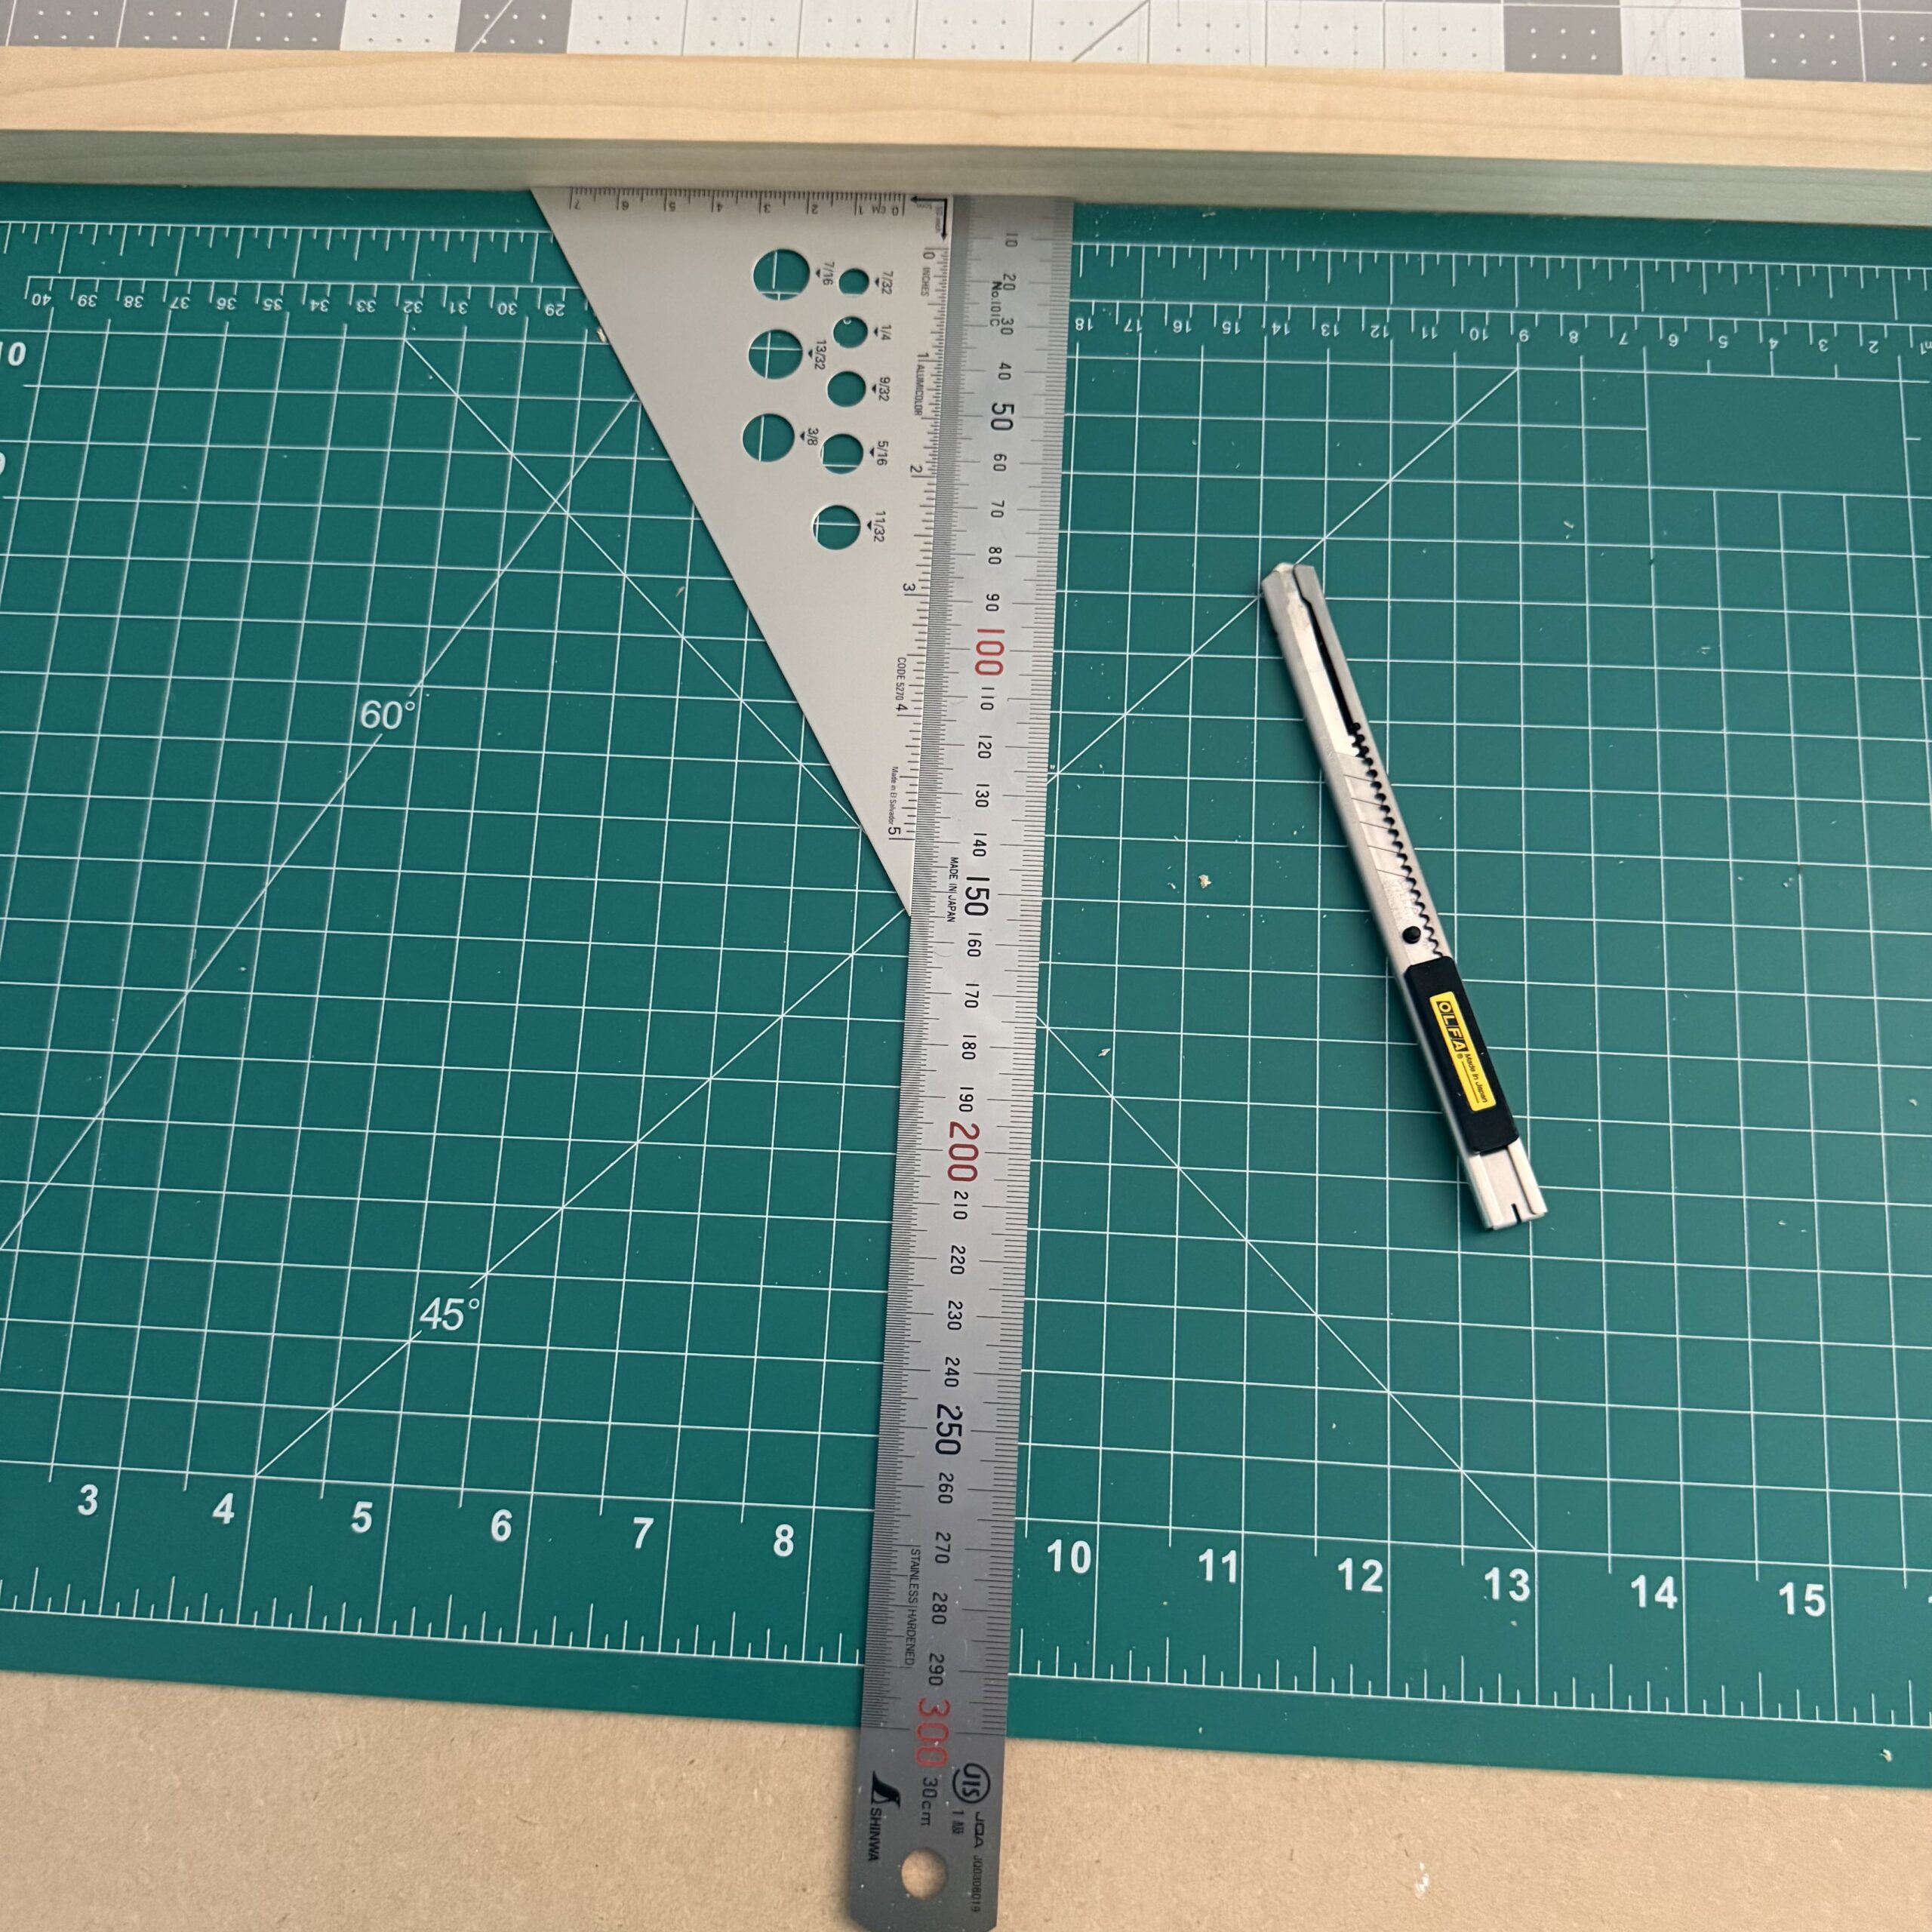
By using a straightedge with a flat edge (like a machinist rule) in conjunction with a square, you can get an accurate 90° cut adjacent to a straight edge placed against the back stop.