
Overview
Almost all our 3d printers are connected to the Local Area Network (LAN) and thus can be controlled remotely as long as you are on the crashspace wifi.
This page details how to connect to those printers, and send prints over. You are still responsible for monitoring the print, and checking for the first bed layer success and monitoring the print.
Printing over LAN, just adds convenience of being able to observe and send prints from anywhere inside the space.
NOTE: This tutorial would work the same if you are connecting over LAN anywhere, not just for our space. If you have a personal machine or an account tied to your machines:
- Bambu Labs: look up how to use Bambu Studio (mobile) or add the device directly in the slicer under the devices tab.
- Prusa Research: look up how to use Prusa (mobile) or add the device using Prusa Link
Bambu Lab Printers – Add Printer
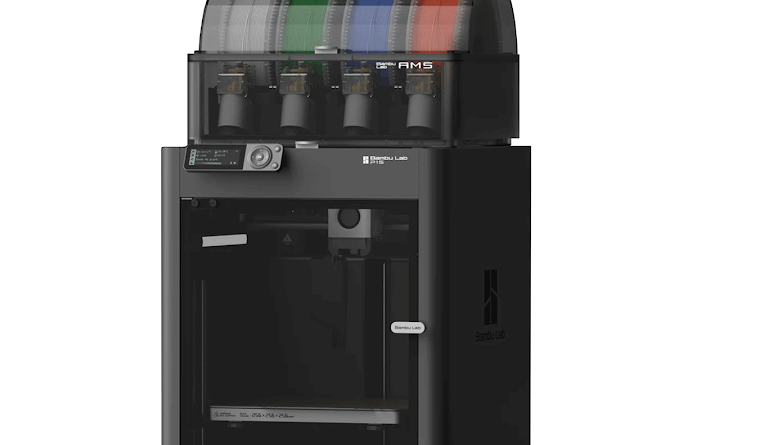
Visual Reminder Of Appearance
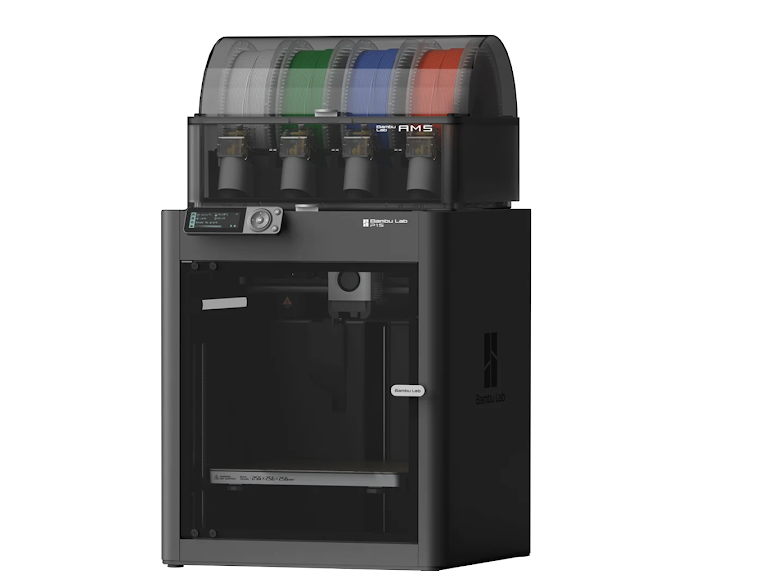
The 2 Bambu Lab printers are located on the middle shelf of the Fab Lab 3d printing section.
Note: To send prints over LAN to the 2 Bambu Printers, you must use either Bambu Slicer or Orca Slicer (recommended)
1. Navigate to The Device Tab in Orca/Bambu Slicer

2. Open The Printer Menu in the Top Left
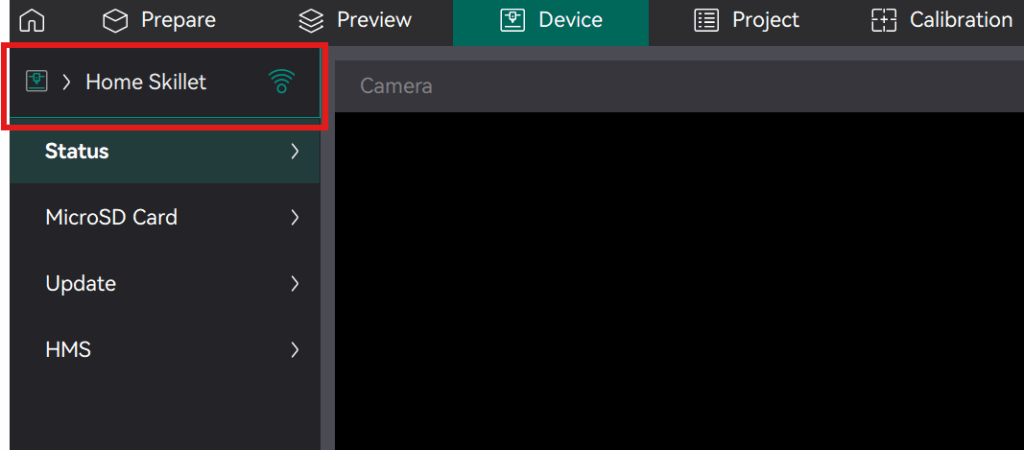
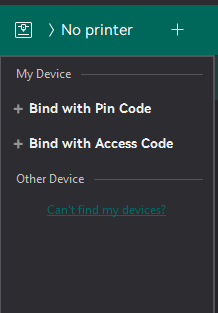
Once you click on the printer menu, you will see a dropdown menu, shown below
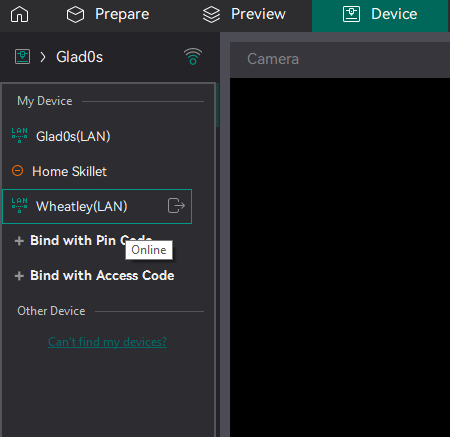
Successfully Found Printers on LAN
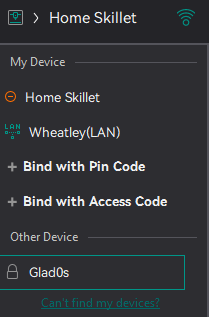
What you will see if you are the same Wifi and can interface with the printers.
Click on the printer in Other Device to start
Note: In this example Home Skillet is my home printer, Wheatley is already connected, and Glad0s has been found but is not connected
Add the Printer by Access Code

Unsuccessfully Found Printers on LAN
What you will see if your slicer CANNOT detect the printers.
Often times this is due to not being on the same Wifi, or the printer is off
To resolve this, either
Add Printer By IP And Access Code

LAN IP and Access Codes
| LAN IP | Printer Access Codes |
| Name: CrashSpaceS Wifi IP: 192.168.1.43 | (Left) P1S with AMS – “Wheatley”: 17640446 (Right) P1S w/o AMS – “Glados”: 186697054 |
Bambu Lab Printers – Print From LAN
Ensure you have one of the printers connected, as shown below. If you do not have any of these in My Device, you will not be able to send a file
1. Import Your Project
Import your project into the slicer using File->import or just drag the .3mf or .stl into the work area
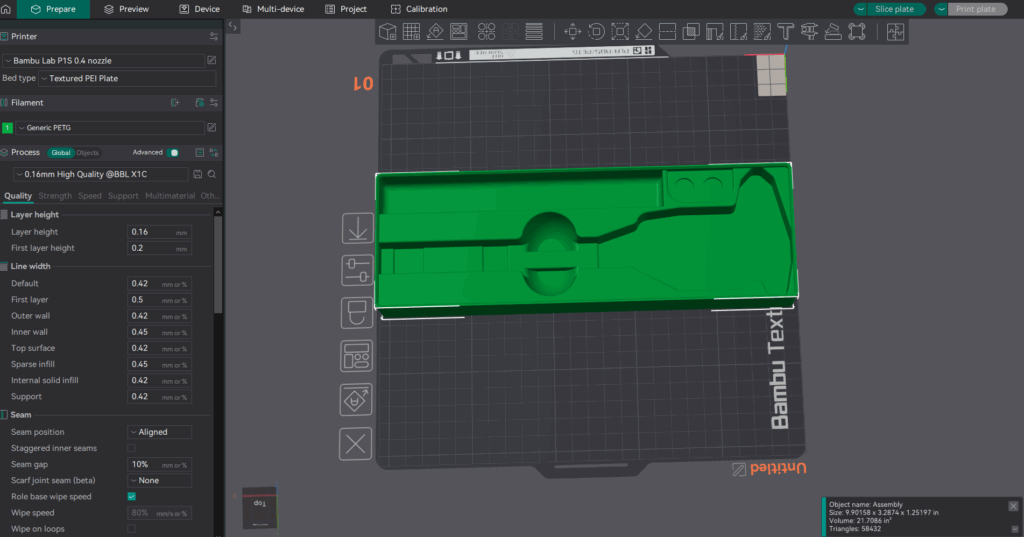
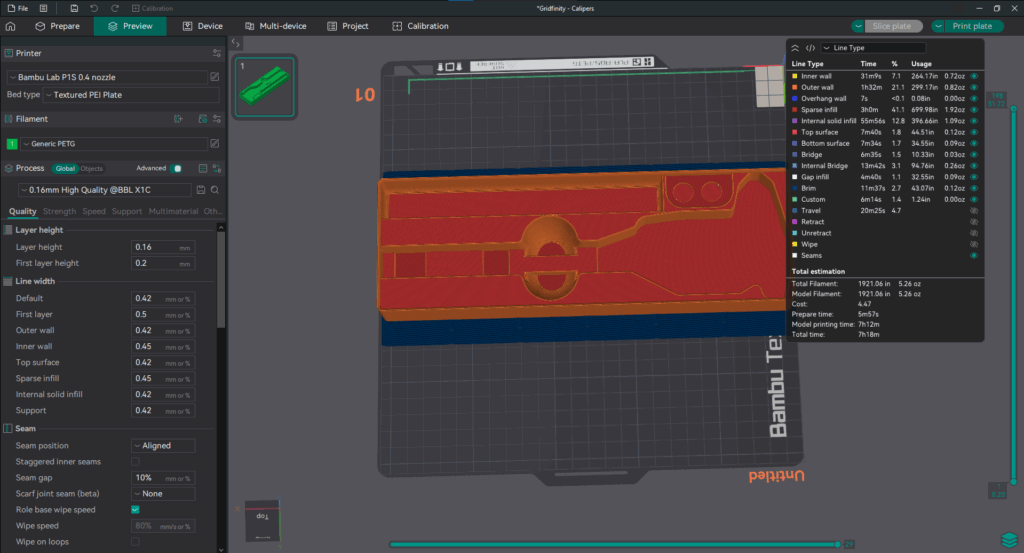
2. Slice the model

Which will automatically transfer you to the Preview Page as shown below.
3. Send To Print
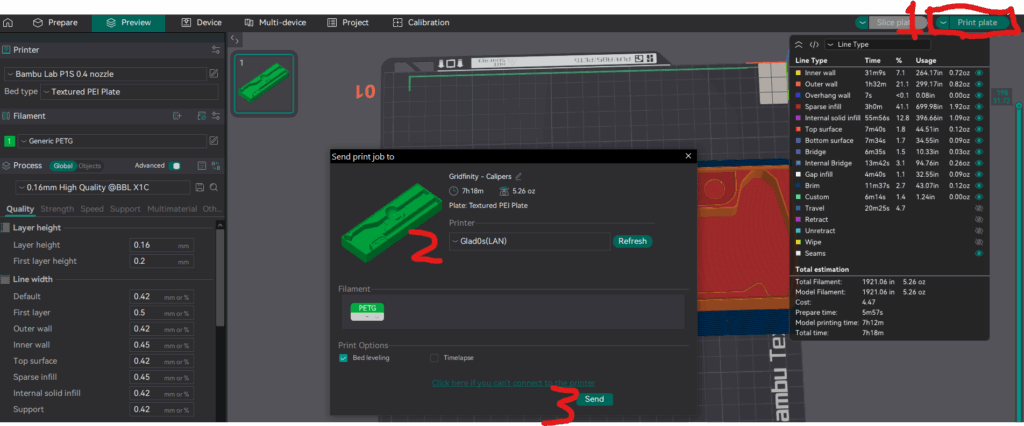
- Open up the printing dialog (shown open)
- Dropdown list of available printers
- Send button (to start the print)
Once you have hit send, the slicer will shift over to the Device tab and start your print
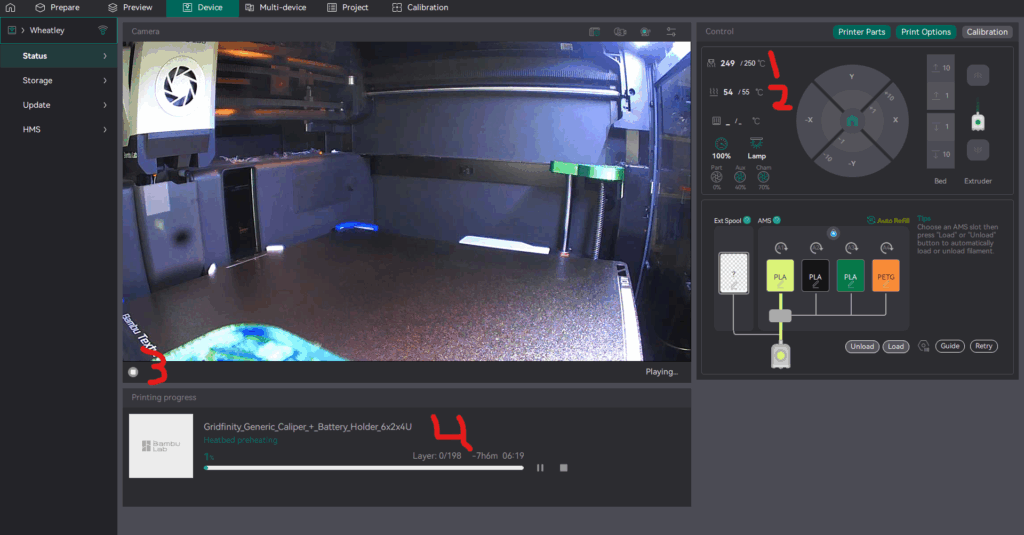
- Nozzle temperature
- Bed temperature
- Button to start camera playback
- Print progress indicator
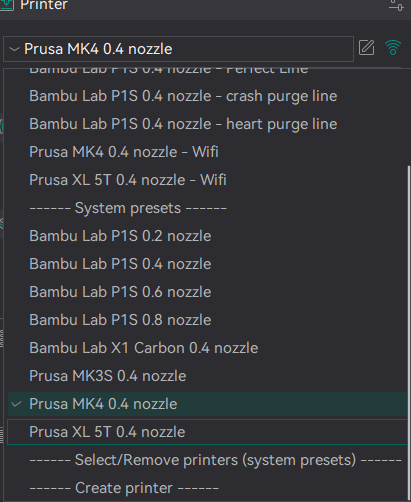
Prusa Research Printers – Add Printer
Visual Reminder Of Appearance
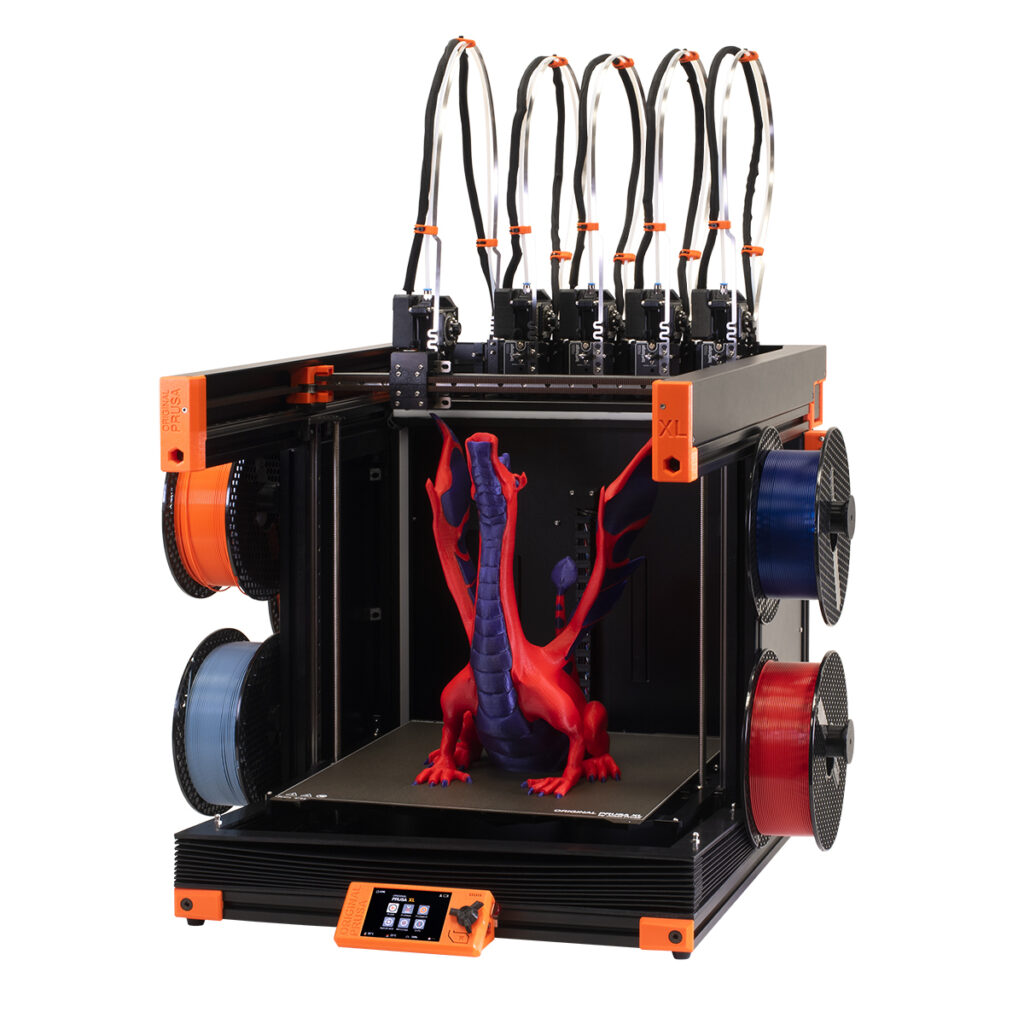
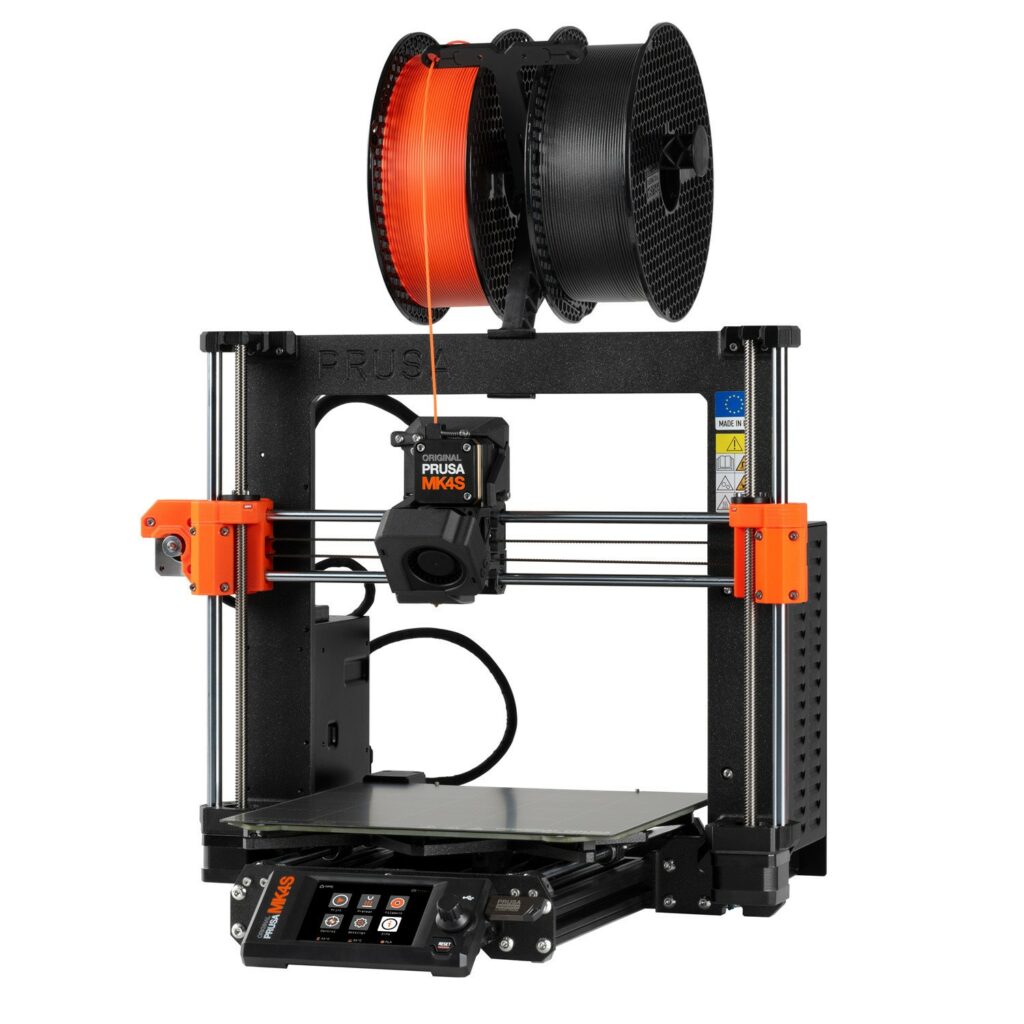
The 3 Prusa Research printers are located on the far left (XL) and top shelf of the Fab Lab 3d printing section.
Note: To send prints over LAN to the Mk4 and XL, you must use either Prusa Slicer or Orca Slicer (recommended)
Note: The Mk3 is not connected to LAN due it needing a Raspberry Pi
1. Navigate to The Prepare Tab in Orca Slicer and select the MK4 or Prusa XL 5T Nozzle
If you have neither of these, use the tutorial at: LINK HERE to add them
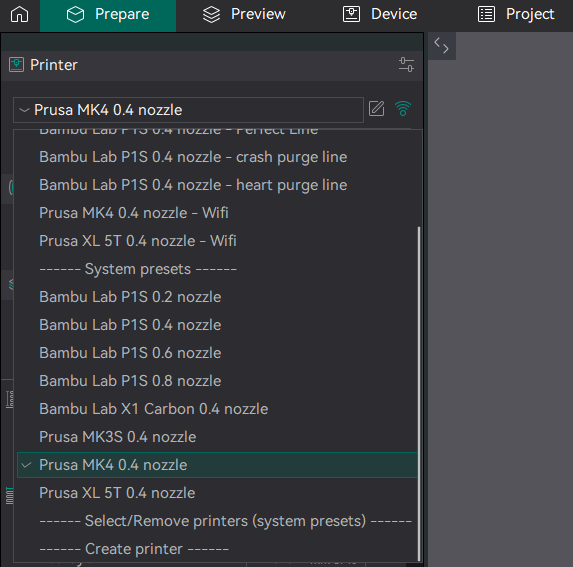
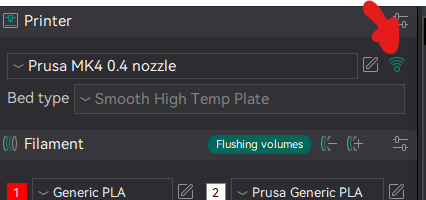
2. Open The Connectivity Menu Next To The Name
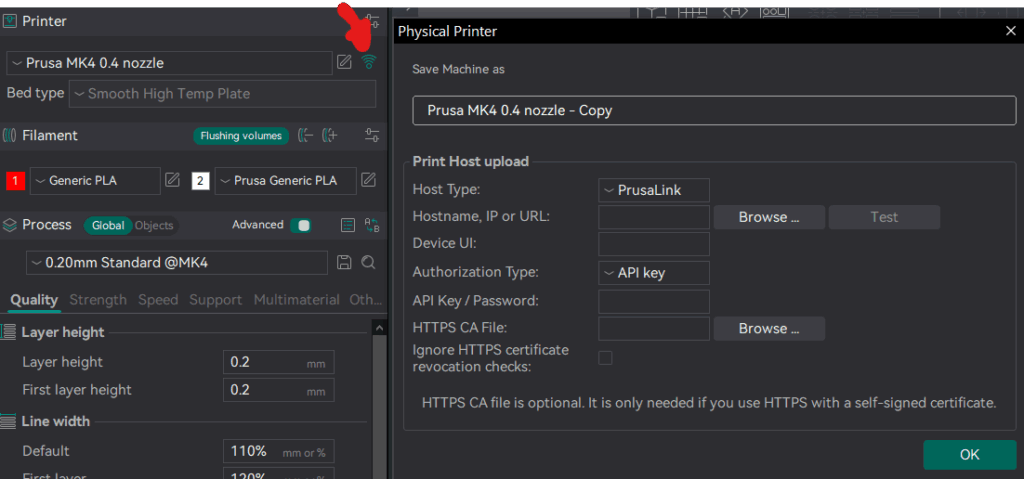
Once you click on the Connectivity Icon you will see a window pop up. Depending on the printer you are doing, use the appropriate settings from below
MK4 Settings
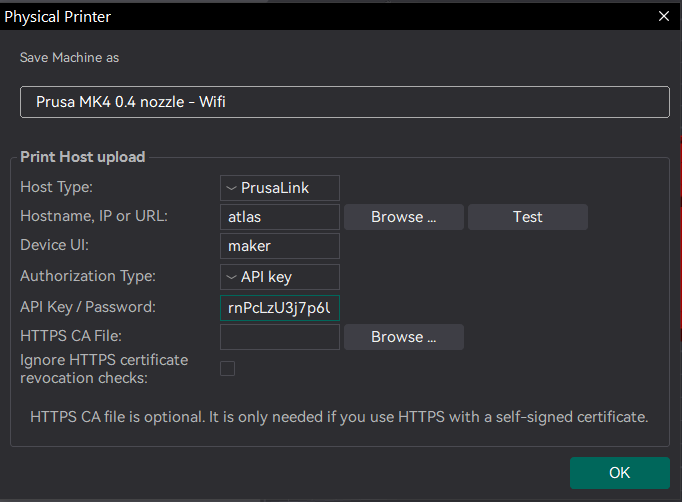
| Host Type | Prusa Link |
| Hostname,IP or URL | atlas |
| Device UI | maker |
| Authorization Type | API Key |
| API Key/Password | rnPcLzU3j7p6UGv |
XL Settings
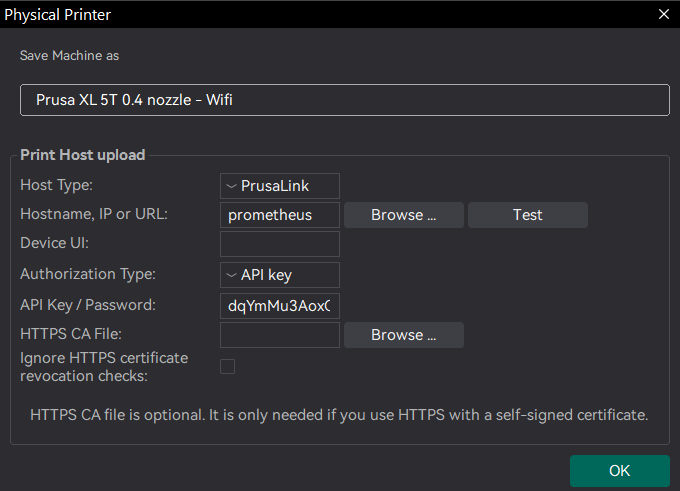
| Host Type | Prusa Link |
| Hostname,IP or URL | prometheus |
| Device UI | maker |
| Authorization Type | API Key |
| API Key/Password | dqYmMu3AoxCHf45 |
Prusa Research Printers – Print From LAN
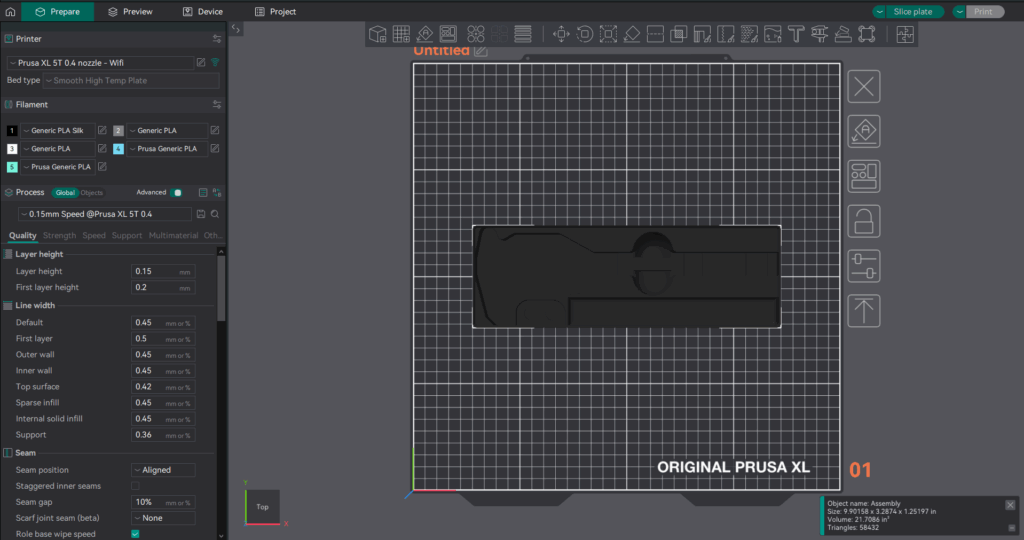
Ensure you have one of the compatible Prusa Printers set up properly, as shown below.
If you see Export To G-Code File selected by default as shown below, in the top right OR when you slice, the Print button is grayed out

As opposed to the following

Then make sure you have selected your LAN connected print settings, which you can check by clicking the “Wifi” icon to the right of the name
1. Import Your Project
Import your project into the slicer using File->import or just drag the .3mf or .stl into the work area
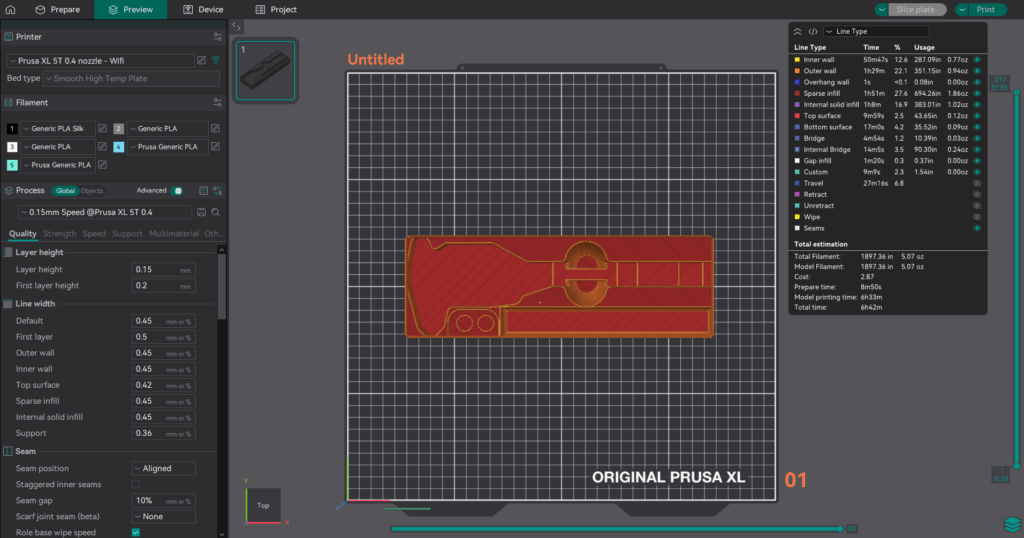
2. Slice the model

Which will automatically transfer you to the Preview Page as shown below.
3. Send To Print
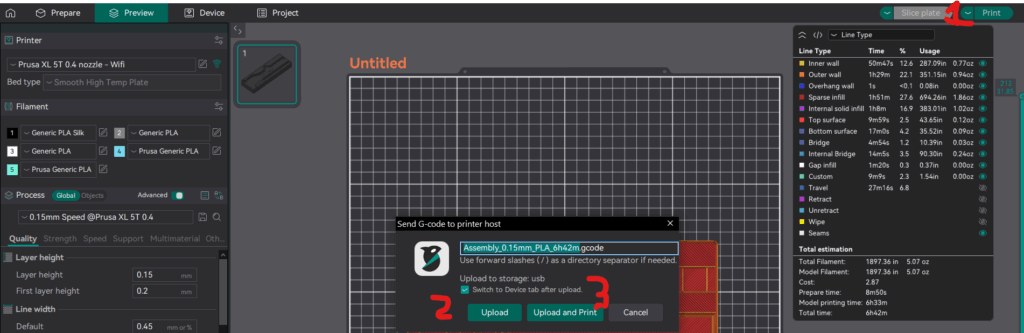
- Open up the printing dialog (shown open on screen)
- Send the file to storage only
- Send the file to storage and print
Once you have hit send, the slicer will shift over to the Device tab and start your print
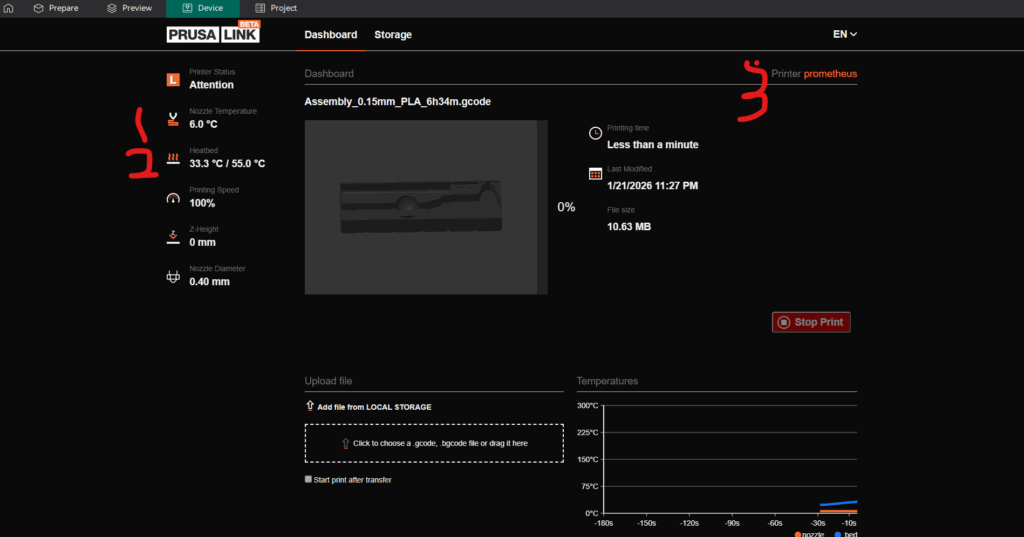
- Nozzle temperature
- Heatbed teamperature
- Printer label