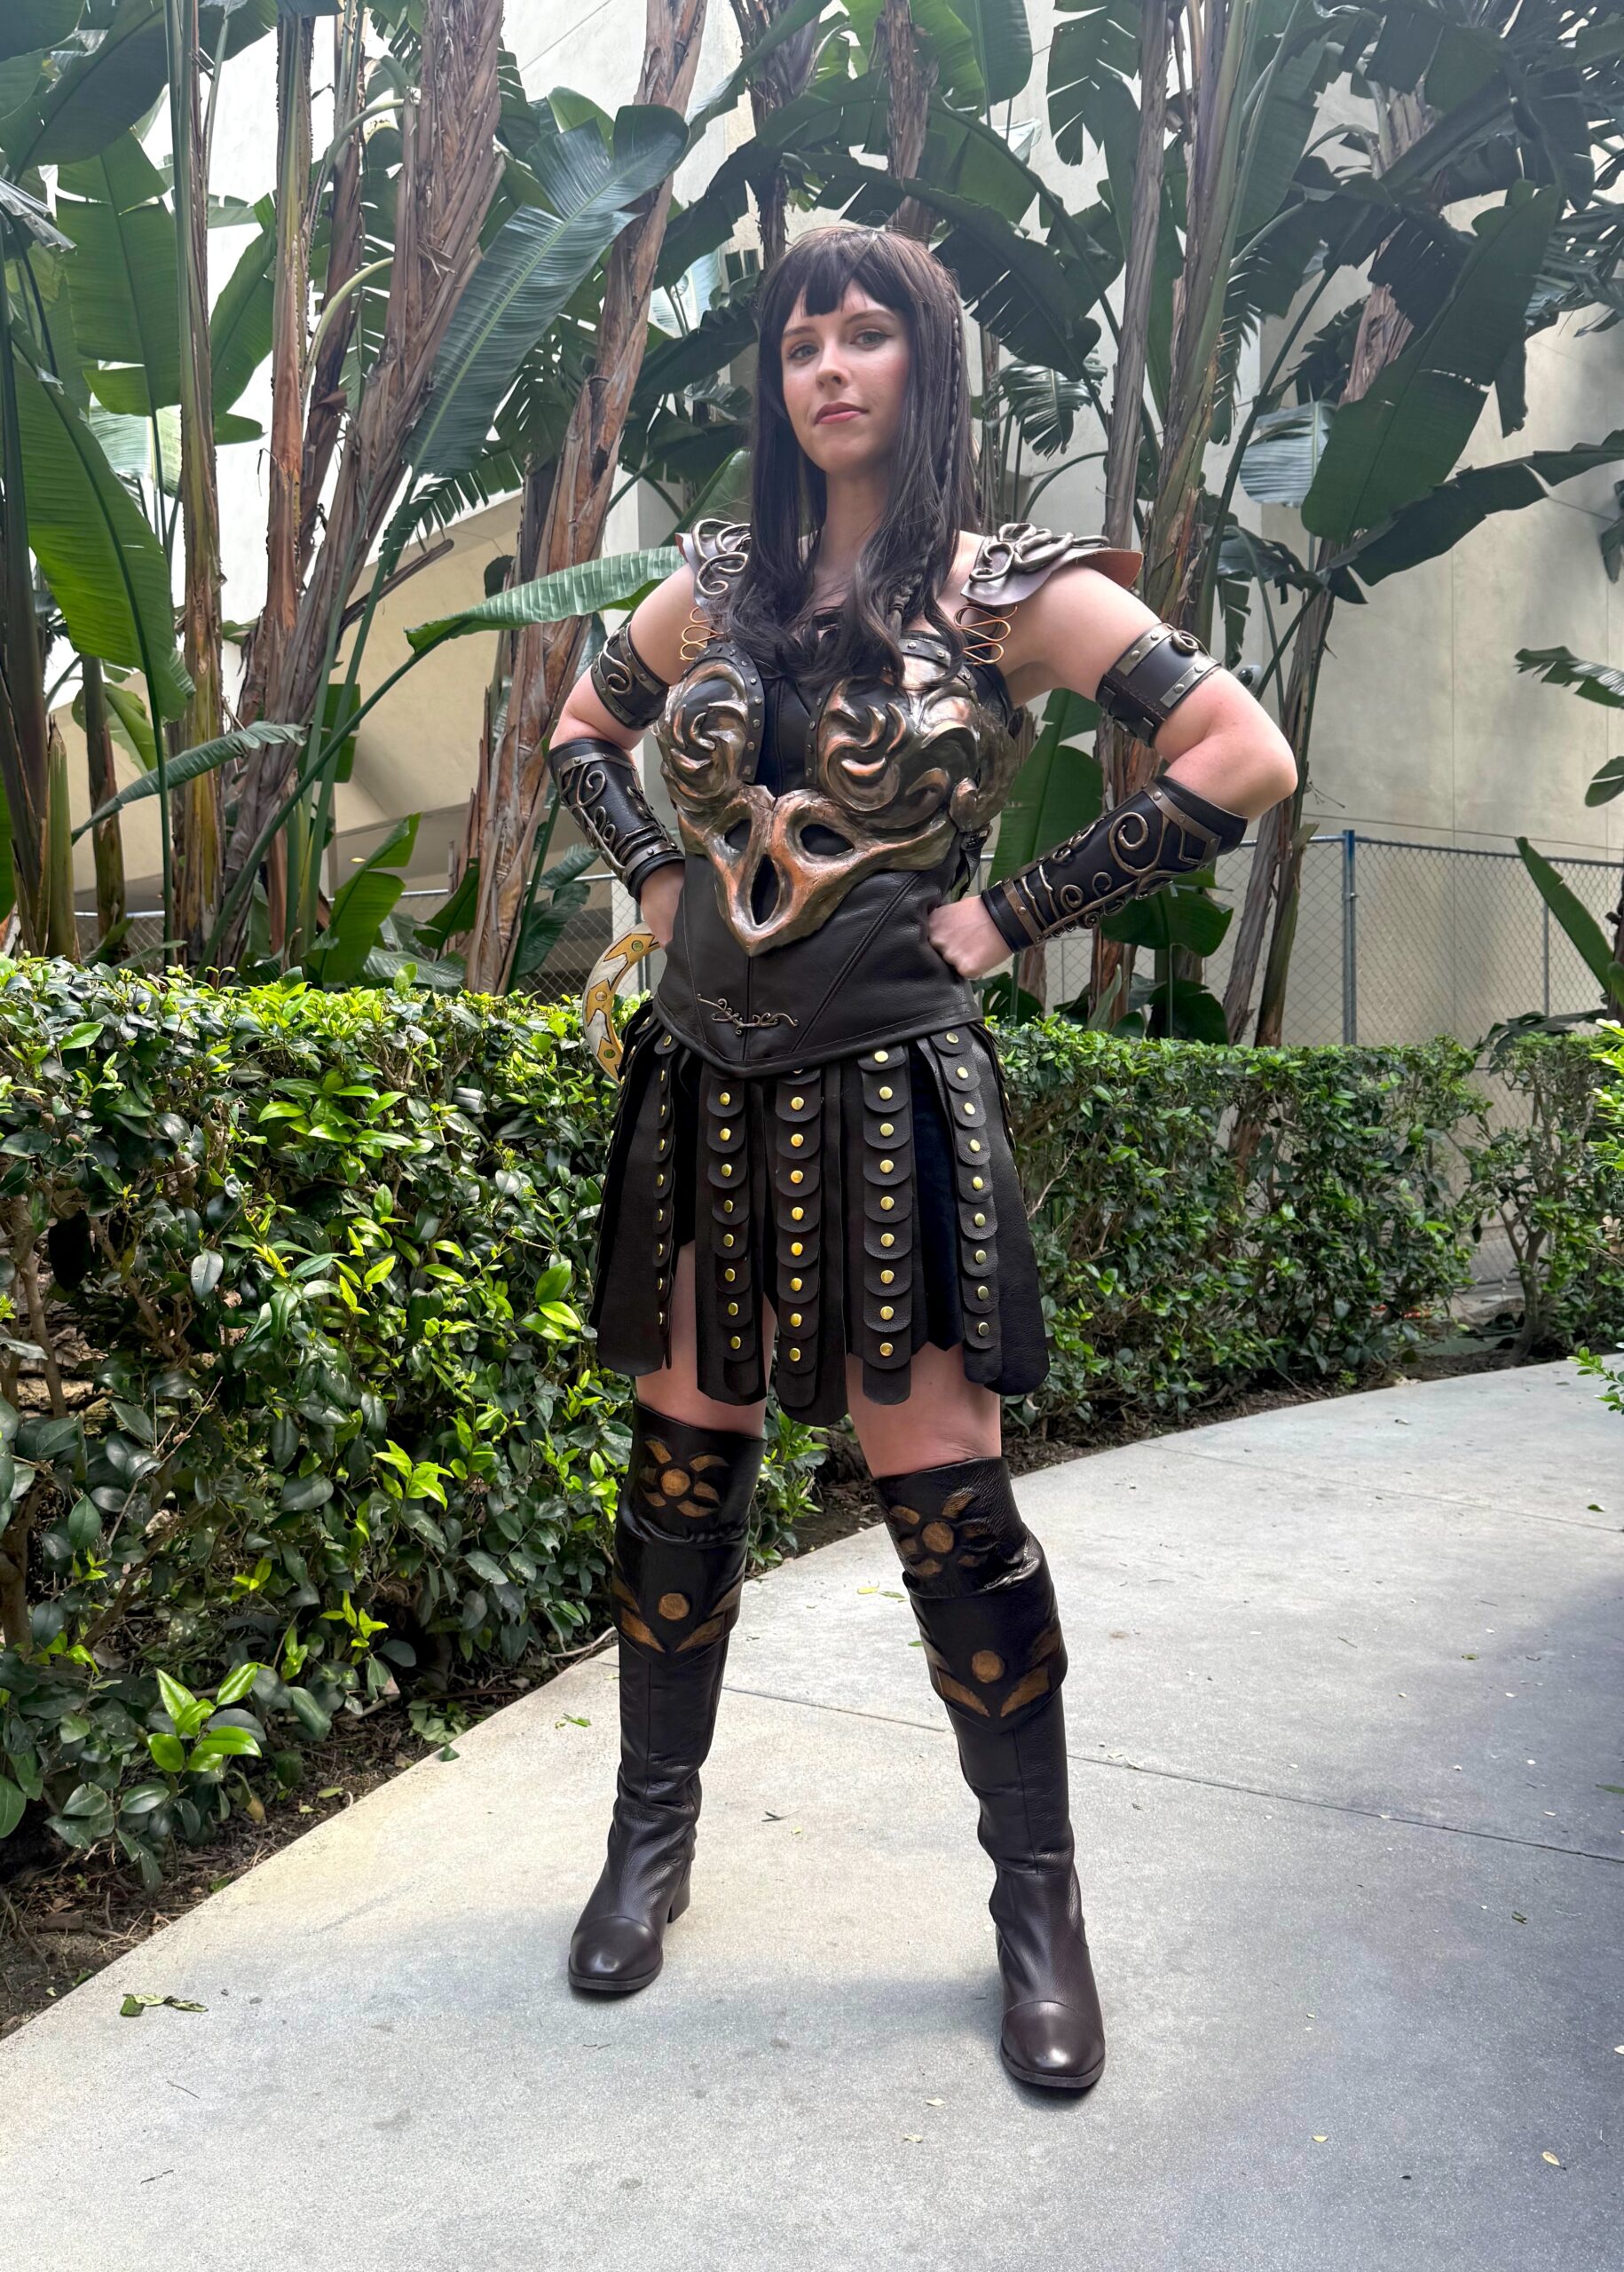
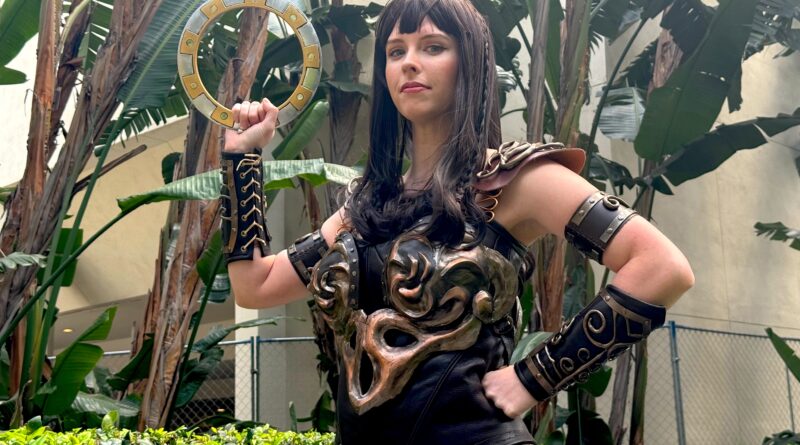
Xena: Warrior Princess Cosplay
I made a Xena: Warrior Princess cosplay for WonderCon! Here’s a little writeup about my build process, the materials and tools I used (featuring the big laser cutter at CRASH), and things I’d like to improve on the next time I wear this costume. I won’t go into too much fine detail because I ended up referencing two great tutorials quite a bit:
- https://lynlynlora.blogspot.com/2019/11/xena-warrior-princess-costume-diy.html?m=0
- https://www.instructables.com/Xena-Costume/
The leather
One of my goals for this cosplay was to make Xena’s corset and skirt out of real leather (as opposed to faux leather/pleather). I bought two hides of dark brown 2-3oz leather from Sav-Mor Leather and ended up with a little left over.
A note on sewing leather: Most home machines can’t handle sewing through thick layers of leather. I thought using a walking foot on my ~$100 Brother sewing machine would be enough, but I ended up borrowing my friend’s Bernina for the duration of this project. Should CRASH invest in an industrial sewing machine? If you’re interested, let me know.
The corset
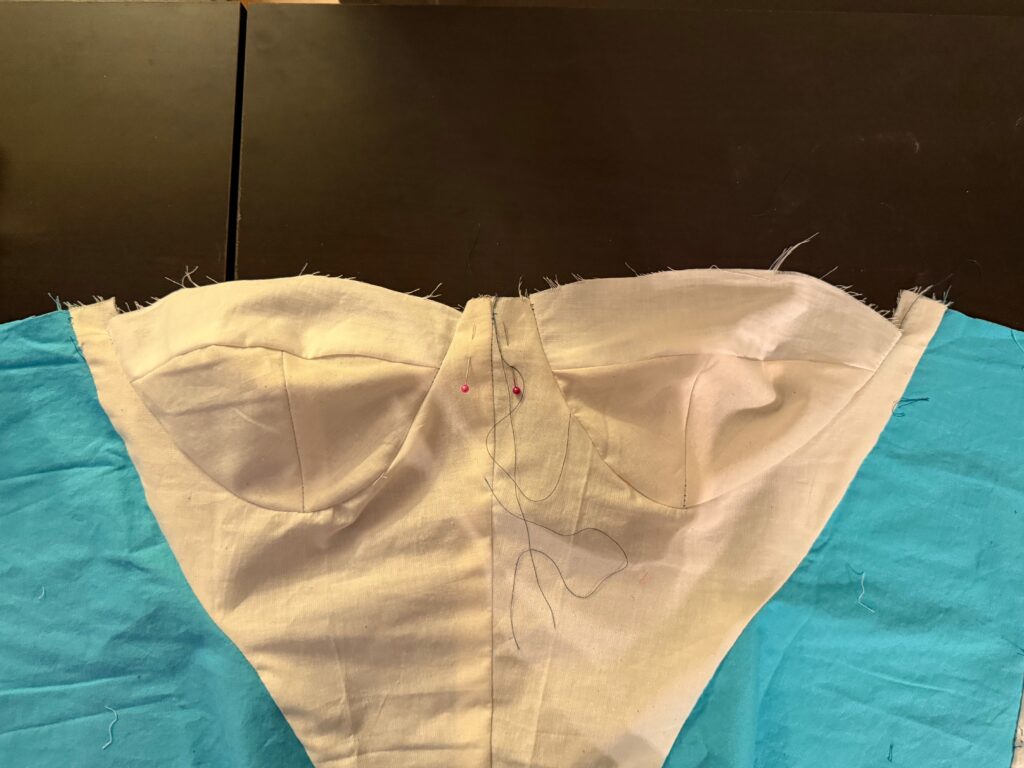
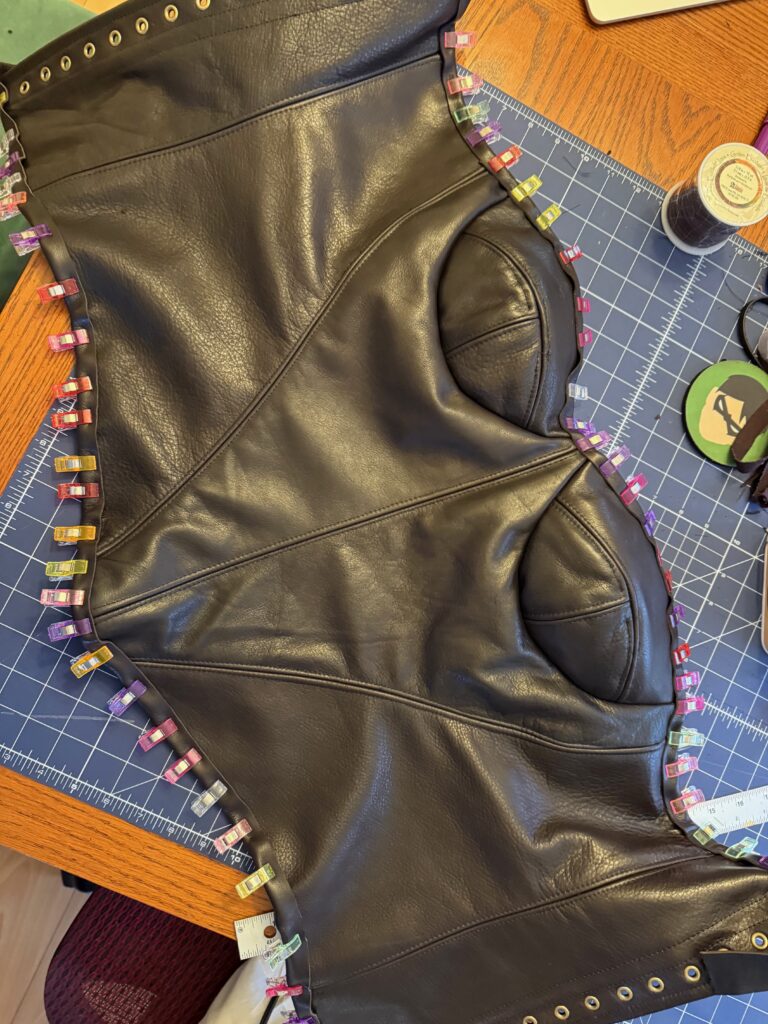
I self-drafted a pattern using my dress form that I covered in duct tape and drew on with sharpie (a timeless cosplayer tradition). I made several mockups in cheap cotton fabric that I had in my stash. If I did this again, I’d be sure to make another final mockup in a heavy duty fabric or felt because I still needed a bit of adjusting when I made the final corset out of leather. My corset is made out of three layers: the outer leather, a heavy cotton canvas for structure, and a cotton lining.
A note on boning: I ended up adding boning channels in the lining and not the leather layer based on what I could determine from watching so many episodes of Xena: Warrior Princess.
Her costume changes a lot throughout the duration of the show, so my method wasn’t necessarily the “right” way to do it, but I like the overall look.
The skirt
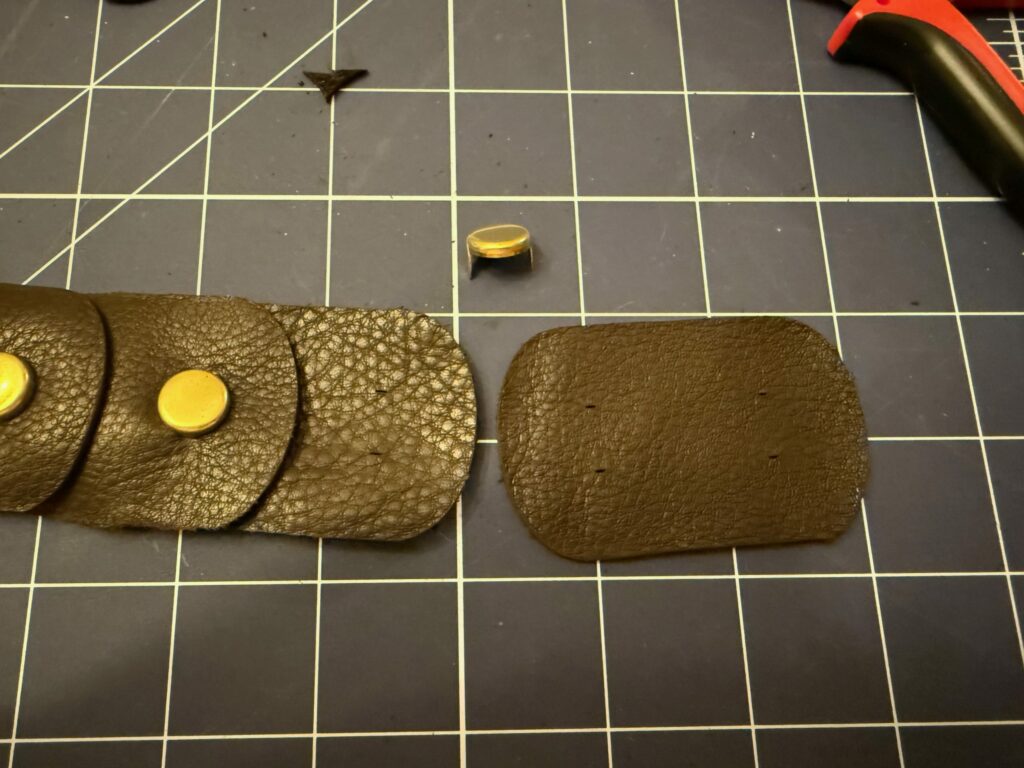
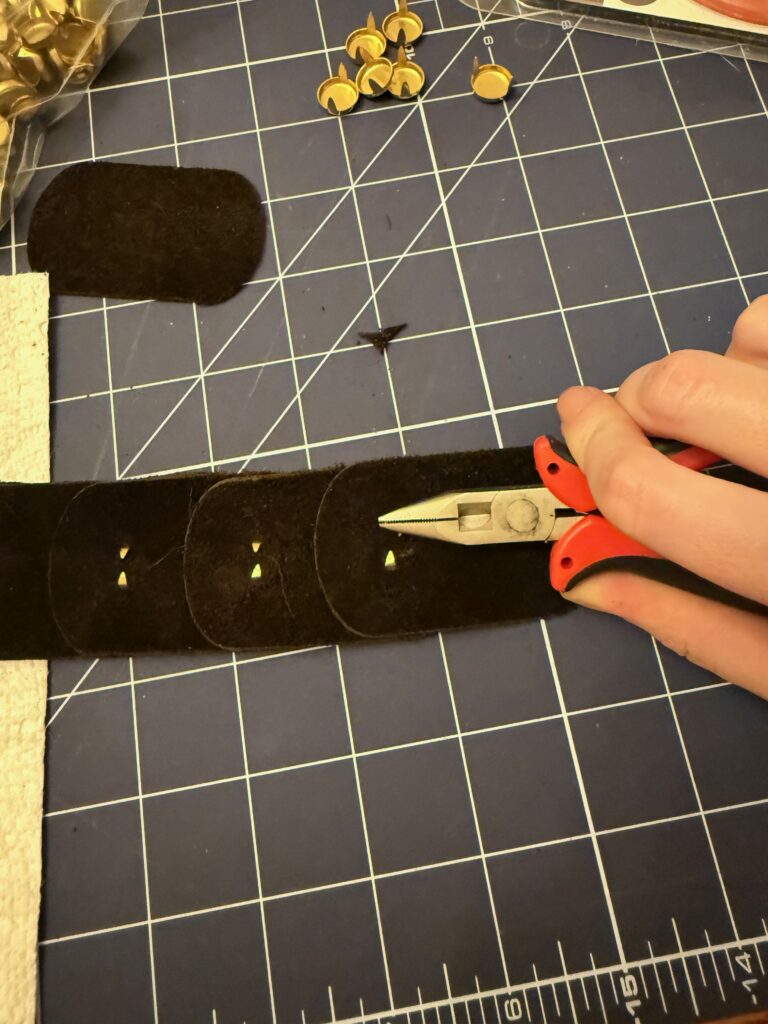
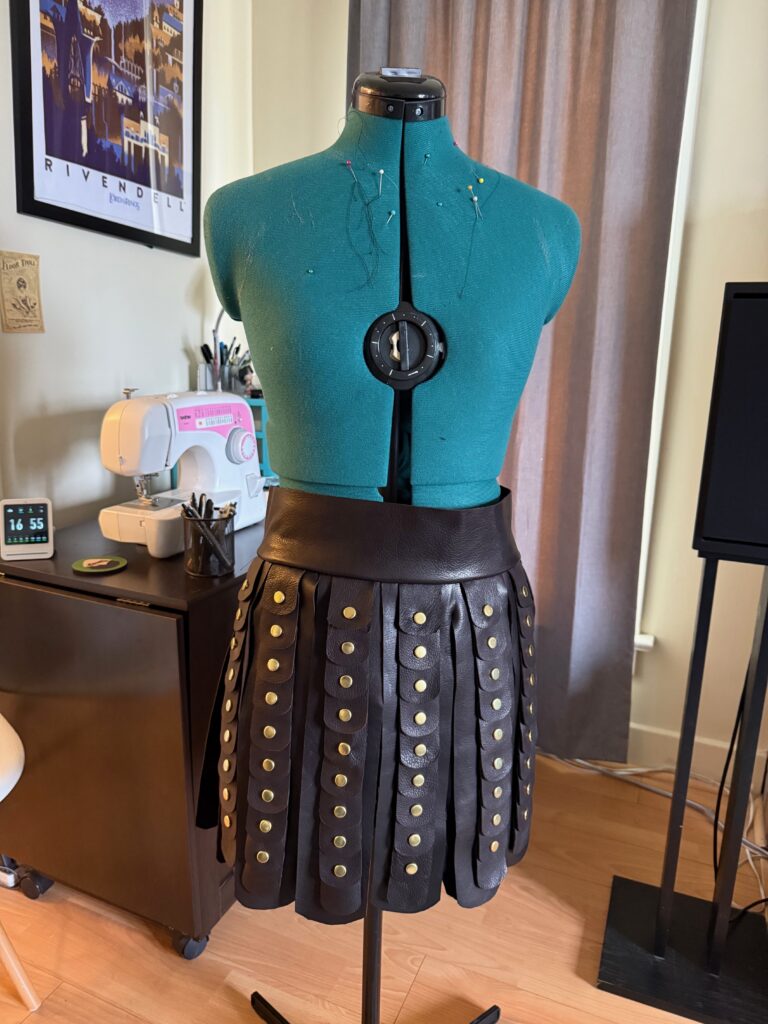
Xena’s skirt is fairly simple – a waistband with two layers of leather strips, with the top layer made up of 10 scaled leather pieces held together with leather studs. There are 13 of those scaled leather strips, and given that 13 x 10 = 130, I knew I didn’t want to cut those out by hand.
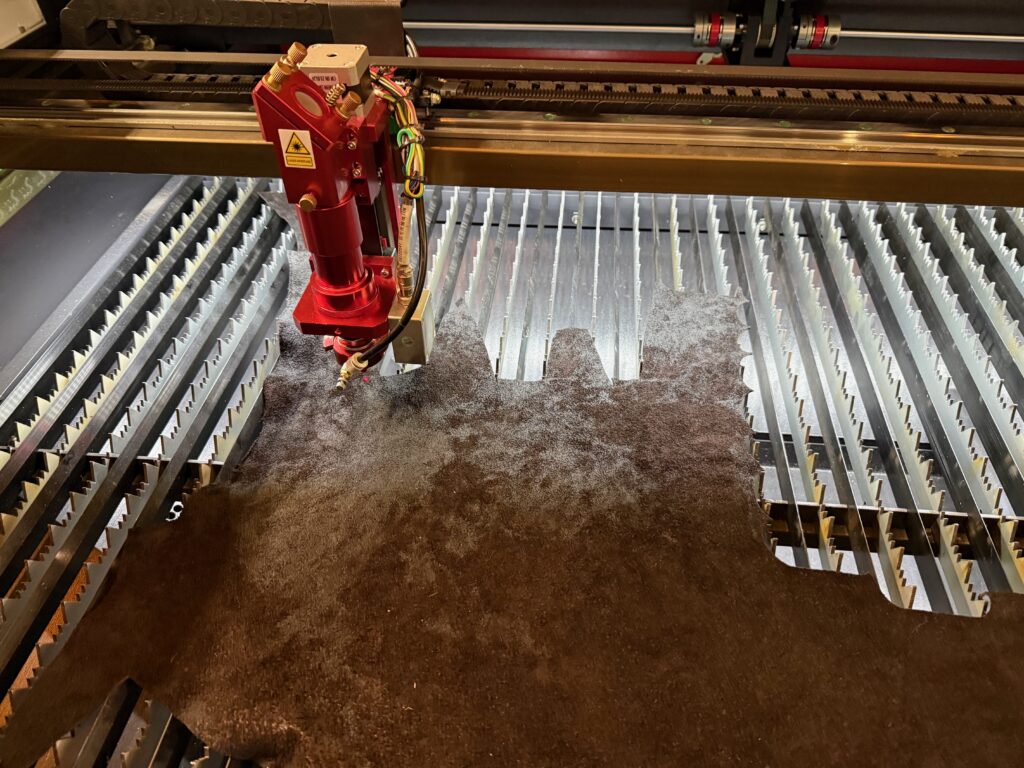
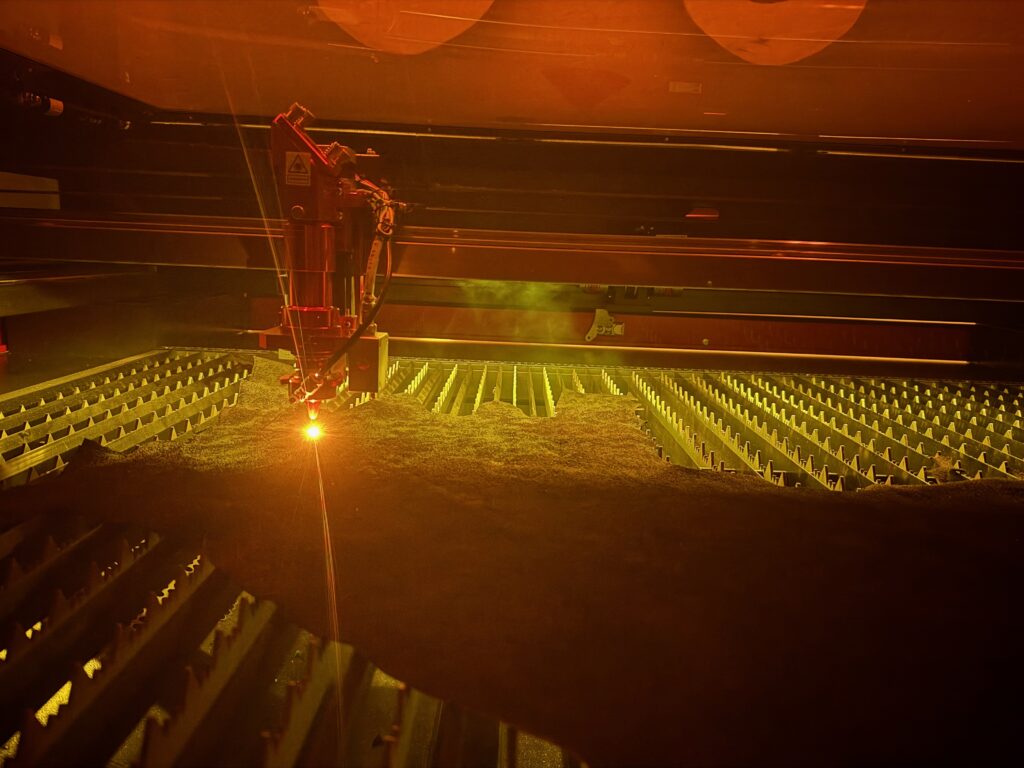
I used the large format BOSS laser cutter at CRASH Space to cut all of those leather pieces. Not only was it much faster than cutting by hand, but it also ensured that all of the pieces were uniform. A few tips when using a laser cutter to cut leather:
- Laser cutting leather is stinky – proper ventilation is important and also give your fellow CRASHers a heads up/fair warning.
- Cutting damp leather helps prevent scorched edges. I rinsed my leather in the sink and carefully wrung out the excess.
- Cut test pieces and dial in your settings. I had to play around with lowering the speed and power to get good cuts with minimal charring.
- And if your pieces do get singed on the edges, wiping them clean with a rag worked fine for me.
I then assembled all the pieces with pliers and leather studs. I used the laser cutter to cut small incisions so the studs would fit in place easily and uniformly.
The armor
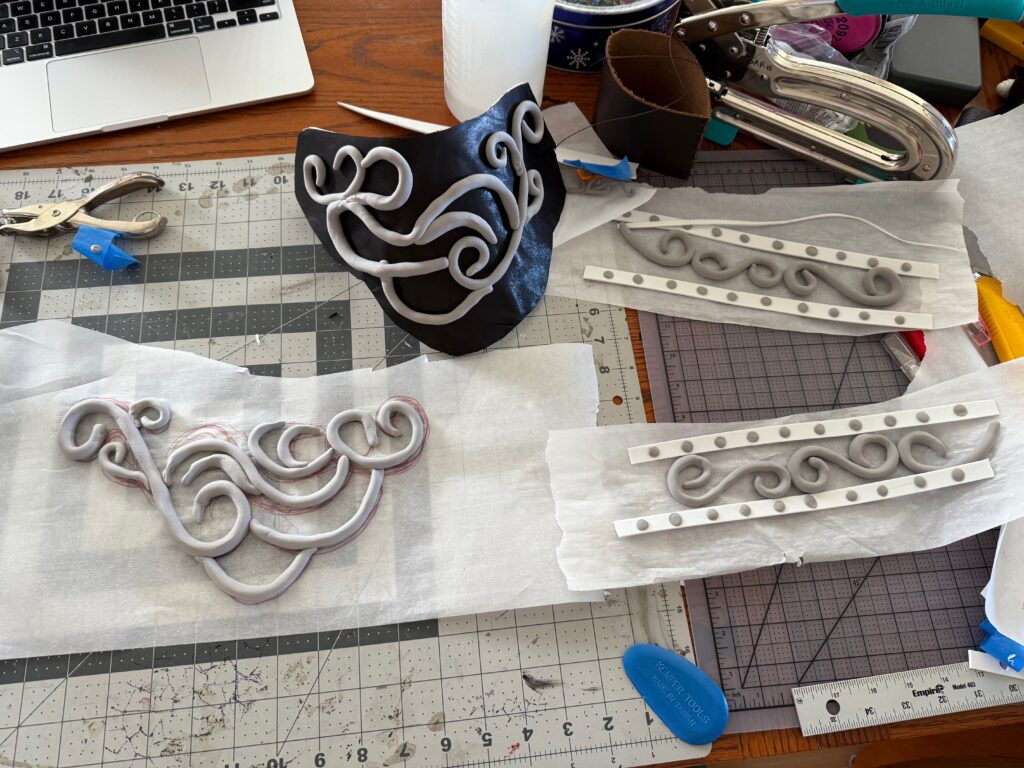
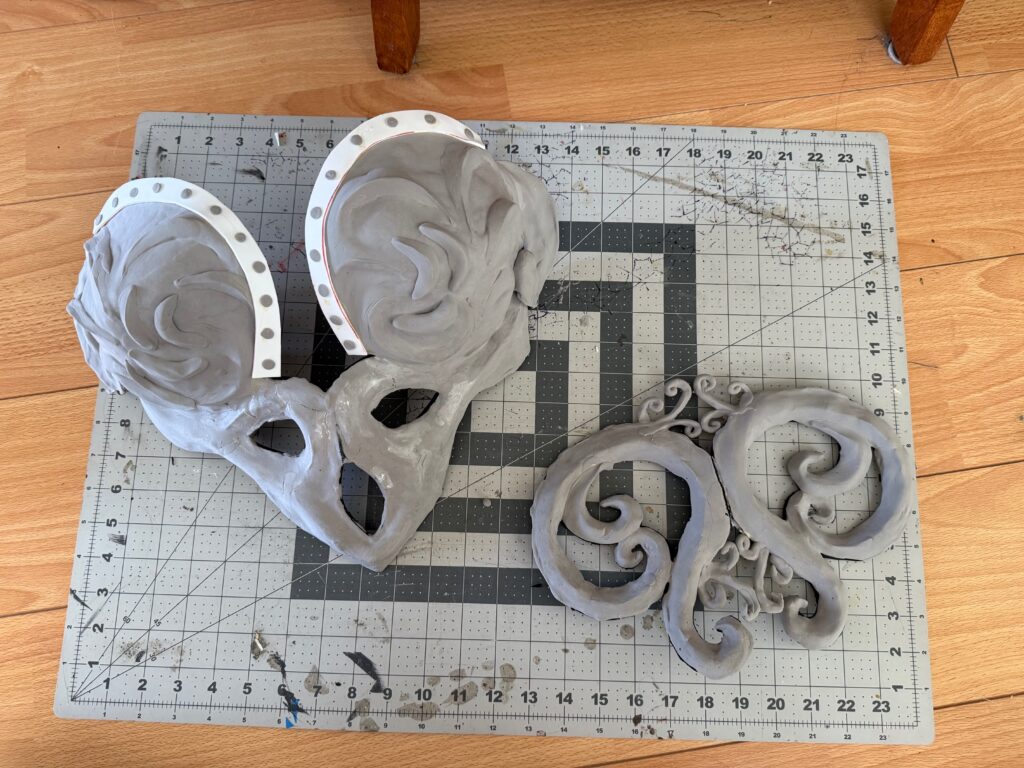
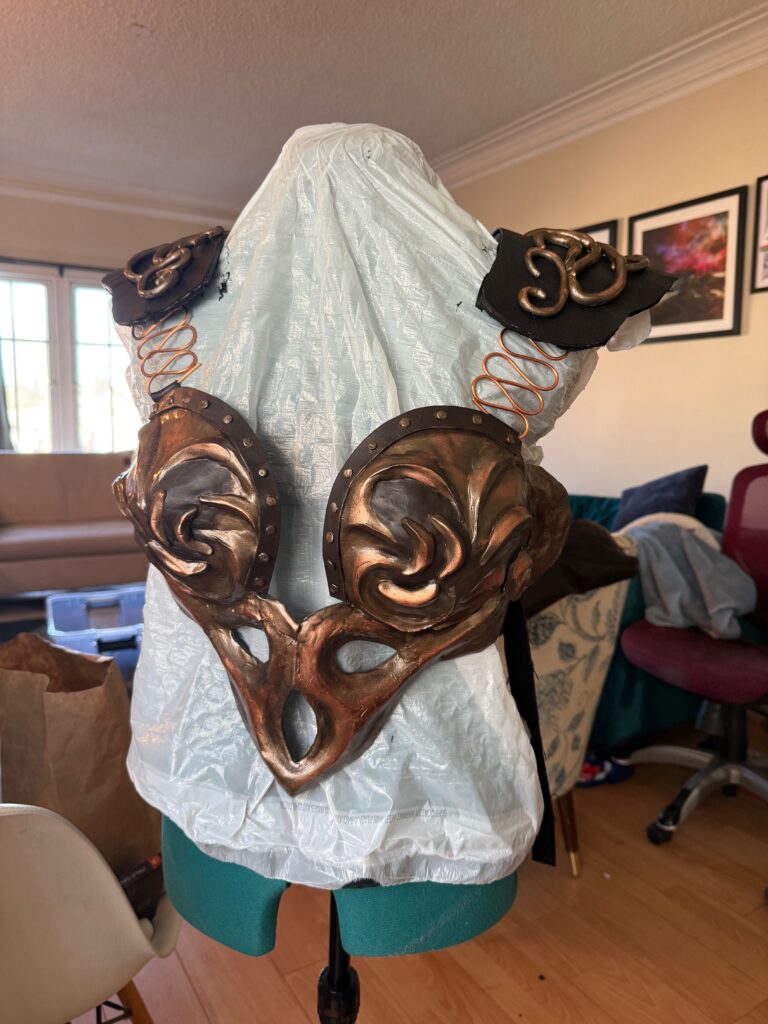
I made Xena’s armor out of EVA foam, foam clay, and leather. I really liked how the foam clay details looked, but they did not hold up well at the con. They dried too brittle and delicate and broke often, so I’ll need to remake them for my next outing.
The chakram
I used this file from Backslash Cosplay: https://backslashcosplay.com/downloads/xena-chakram-stl/
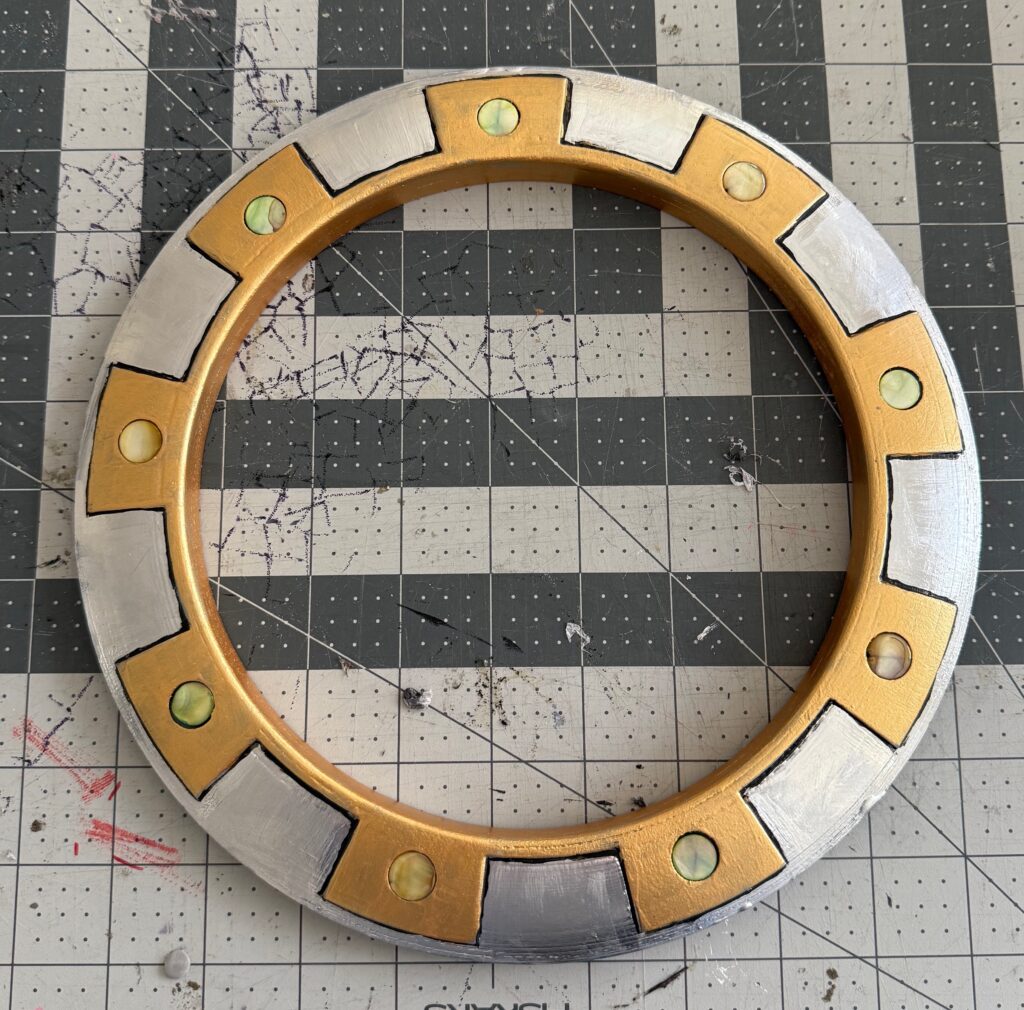
I 3D printed Xena’s iconic weapon in white eSun PLA, which I glued together with super glue, sanded, primed, and painted. I glued in green coin shell beads that I bought on Etsy: https://www.etsy.com/listing/1829951310/green-coin-freshwater-shell-beads-10
The final result
Overall I’m really happy with how it turned out! I’m also excited to improve certain elements and rewear this cosplay any chance I get.
