Build Your Own Custom PCB
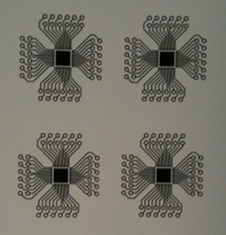
This Monday, we had a special guest workshop on at-home PCB manufacturing by our very own Jonathan Toomim! The event was open to the public, and was an experimental working session for everyone to come together and explore possible methods of PCB fabrication. The method demoed involved transferring printed circuit designs to blank PCB, and dissolving the surrounding copper.
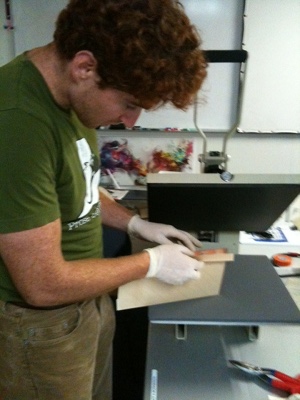
Once a chosen design was printed, it was placed face-down onto the copper side of the blank PCB in a heated press for 30 minutes at 400F.
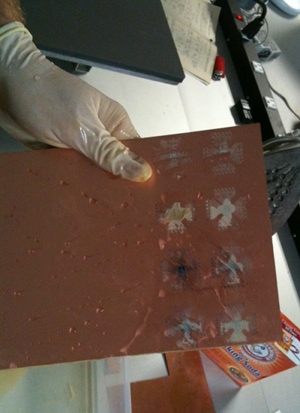
Once the toner had successfully transferred to the copper, the leftover bits of paper needed to be removed from the print. A coin worked fine to scratch the paper off. The PCB was then cut into individual pieces and placed in a mixture of hydrochloric acid, hydrogen peroxide, and copper (II) chloride. This etching solution is reusable.
The copper on the edges of the board goes first. The toner, being hydrophobic, blocks the solution in the chosen pattern, while the rest of the copper is eaten away. Afterwards, acetone is used to remove the toner, leaving copper traces behind.
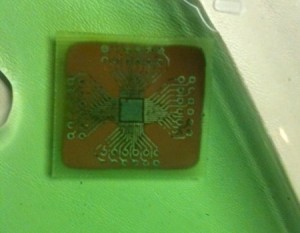
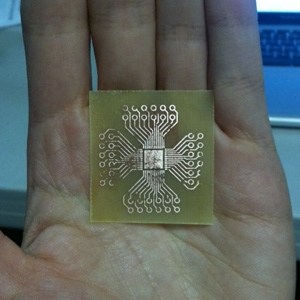
Here’s a picture of our first attempt! As you can see, there are some small patches missing from the copper. This could be alleviated possibly by giving the print more time in the press to transfer fully.

