
PokeDuino: My First Handmade ATMega
On Thursday, I went to Matt’s Learn PCB Layouts with Eagle class here at Crashspace.
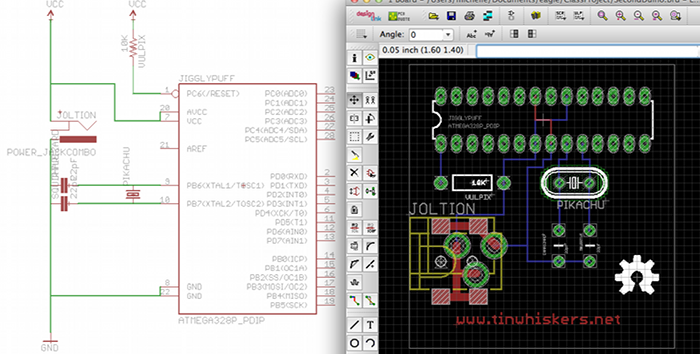
For our first boards, Matt gave us a schematic for a Bare-Minimum ATmega328 circuit, and we copied it into Eagle’s schematic view (the white side on the left). After that, we switched over to the board view (the black side on the right), arranged our components, drew our traces, and labeled our components. (Since the number of components on this board is small and obvious, I chose to give mine all Pokemon names.)
After that, we went to OSH Park to submit our boards to be fabricated. OSH Park is super cheap, and three copies of my board (the minimum they’ll make) ended up being about $16 + $0 shipping!
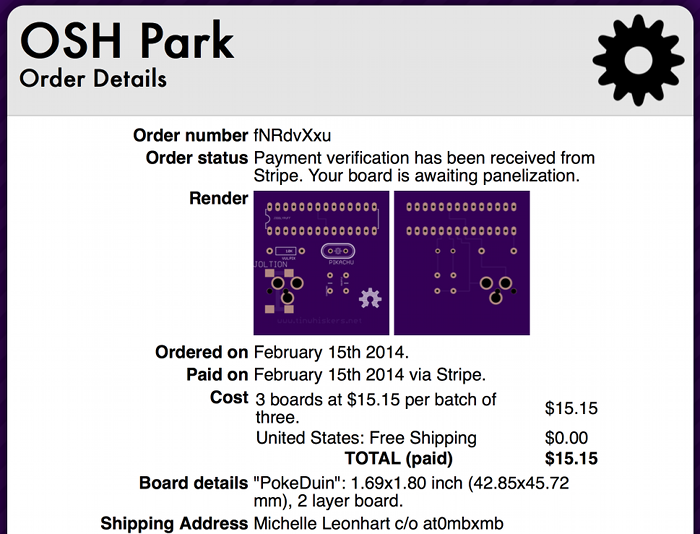
This board will be a bit difficult to work with, being that we didn’t take any time to add USB terminals or holes for header pins, but I think keeping the board design simple the first time around was a good choice. OSH Park estimates it will be between 1 and 2 weeks before I’ll get my boards in the mail. When they arrive, I’ll post them here!
totally awesome